My Official Truax SFC impressions after install. Along with basic how to.
 05-02-2011, 07:42 AM
#1


My Official Truax SFC impressions after install. Along with basic how to.
First off I want to thank Sean Truax for producing these again, and taking the time to install them for me. I did get 2 red pieces just for install sake as I was to anxious to wait for black powder-coated ones.  .
.
That all said, I documented how Sean installed them. Here are some pics of during the install, it should really only take a competent shop under 2 hours to install and depending on labor rates is shouldn't really be over $250.
Here are the pics of the install. Review at the bottom. Also I included a few other links for people to read what others have said.
SUPPLIES NEEDED
WELDER
GRINDING WHEEL
WEATHER/RUST PROOFER
BASIC SOCKETS/WRENCHES
DRILL WITH GOOD BIT FOR BOLTS (doesn't come predrilled as some shops may put them up slightly crooked it's easier to drill after welded IN place)
OPTIONAL:
THIS CAN BE DONE ON JACK STANDS, OR RAMPS.
HOIST IS PREFERRED BUT YOU CAN DO THIS AT HOME WITH SOMEONE WHO KNOWS HOW TO WELD.

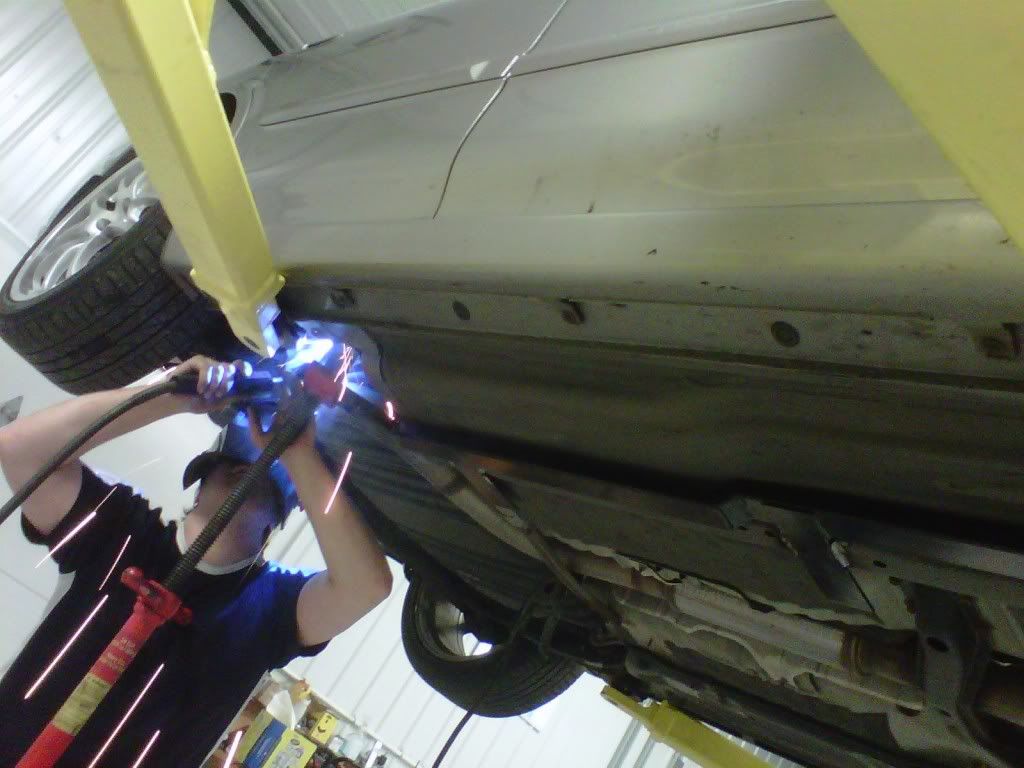
ONCE YOU FIND WHERE THE WELD POINTS WILL BE BY HOLDING UP THE SIDERAILS YOU START BY TAKING A GRINDING WHEEL TO GET THE WEATHER PROOFING OFF.
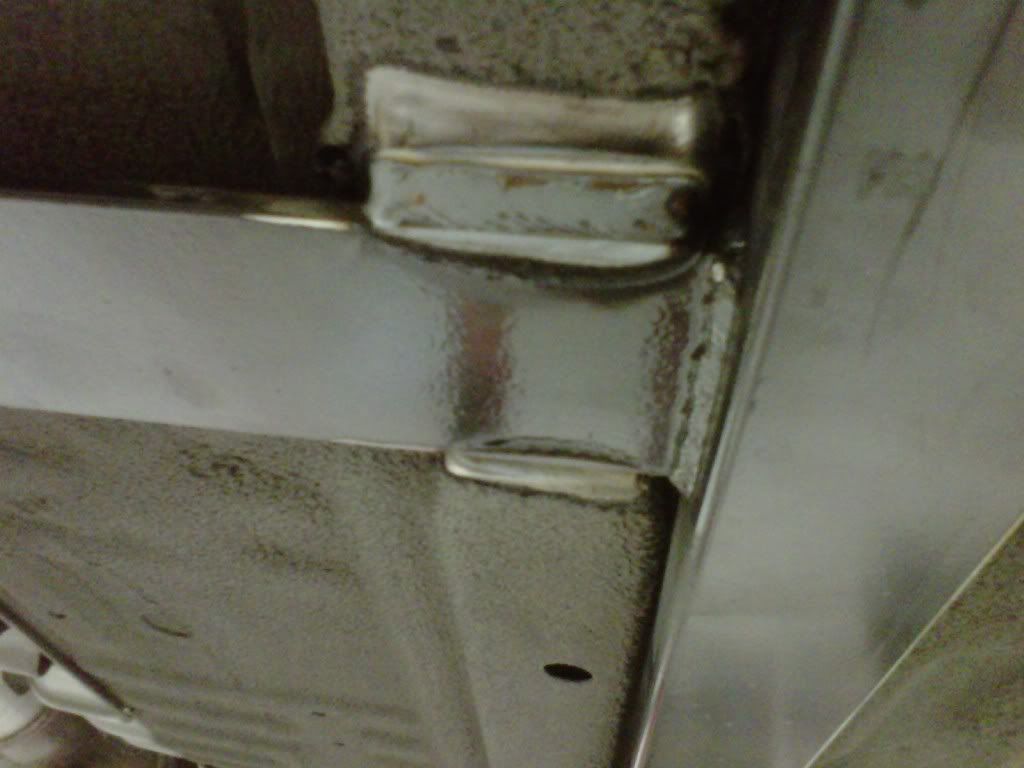
NEXT YOU WELD THE 3 TABS TO THE SUBFRAME WHERE YOU JUST GROUND OFF THE WEATHER PROOFING, MAKE SURE TO SAND OFF THE POWDERCOAT ON THE SFCS AS WELL.
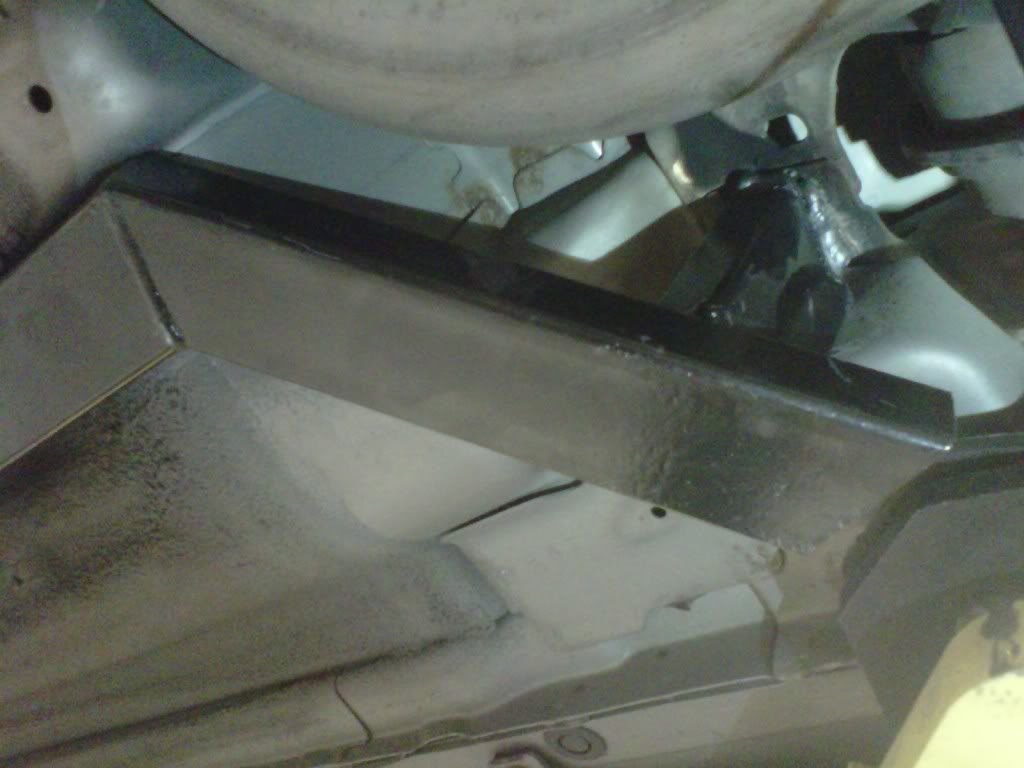
THIS SHOT SHOWS THE REAR, ITS NOT HARD TO GET TO BUT YOU DO HAVE TO UNBOLT A LINE TO GET IN THERE, IT WILL BOLT RIGHT BACK UP.
ONCE YOU HAVE ONE SIDE DONE, SIMPLY REPEAT ON OTHER SIDE
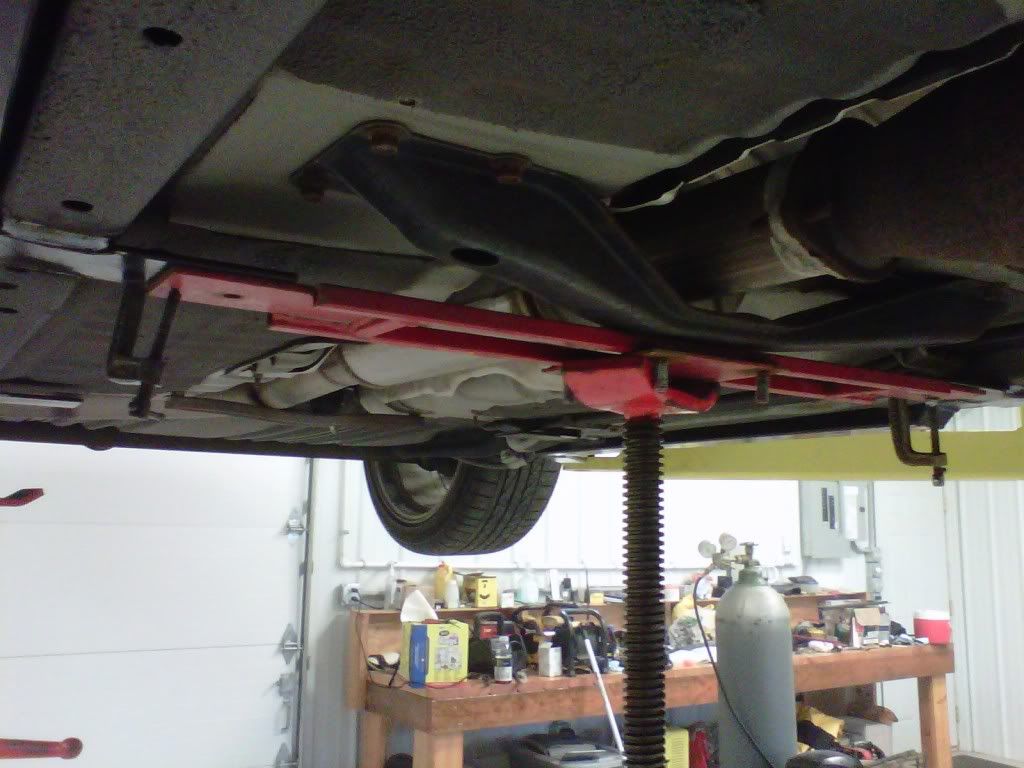
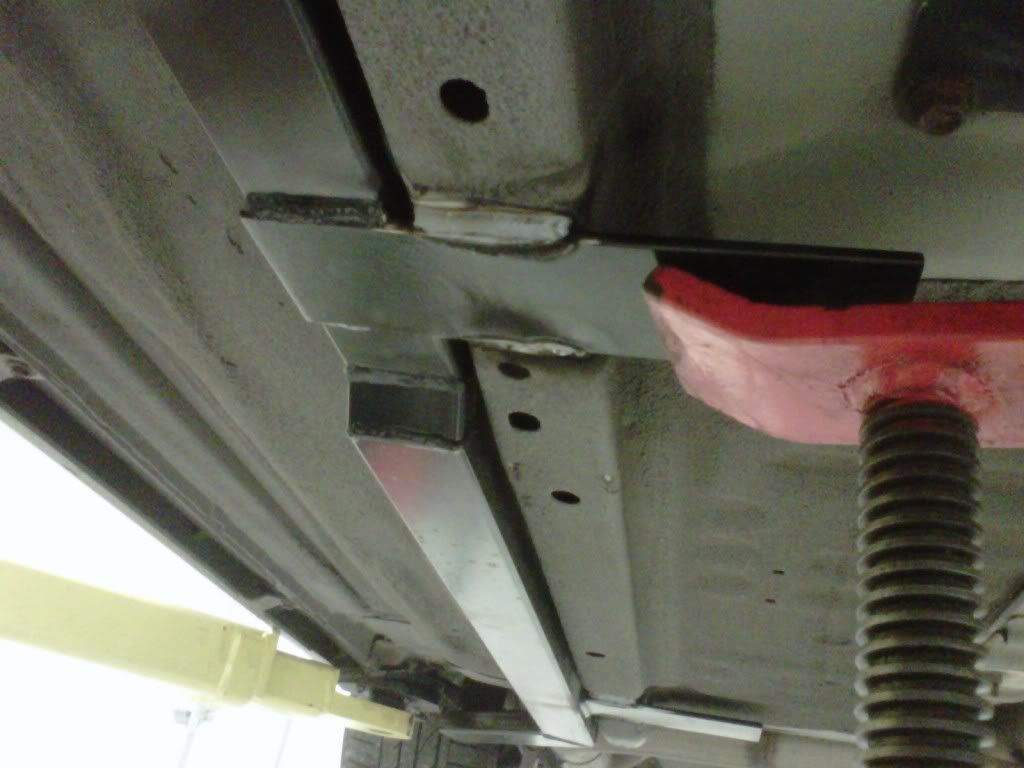
AFTER BOTH SIDES ARE WELDED ON, YOU TAKE THE MIDDLE SUPPORT BEAM AND HOLD IT UP AND MARK WHERE YOU NEED TO DRILL THE HOLES FOR THE ACCESS BOLTS.
(WELD IF YOU NEED TO, BUT IF YOU TQ DOWN THE BOLTS IT WILL BE PERFECTLY FINE AND EASIER TO TAKE OFF TO DO EXHAUST WORK)
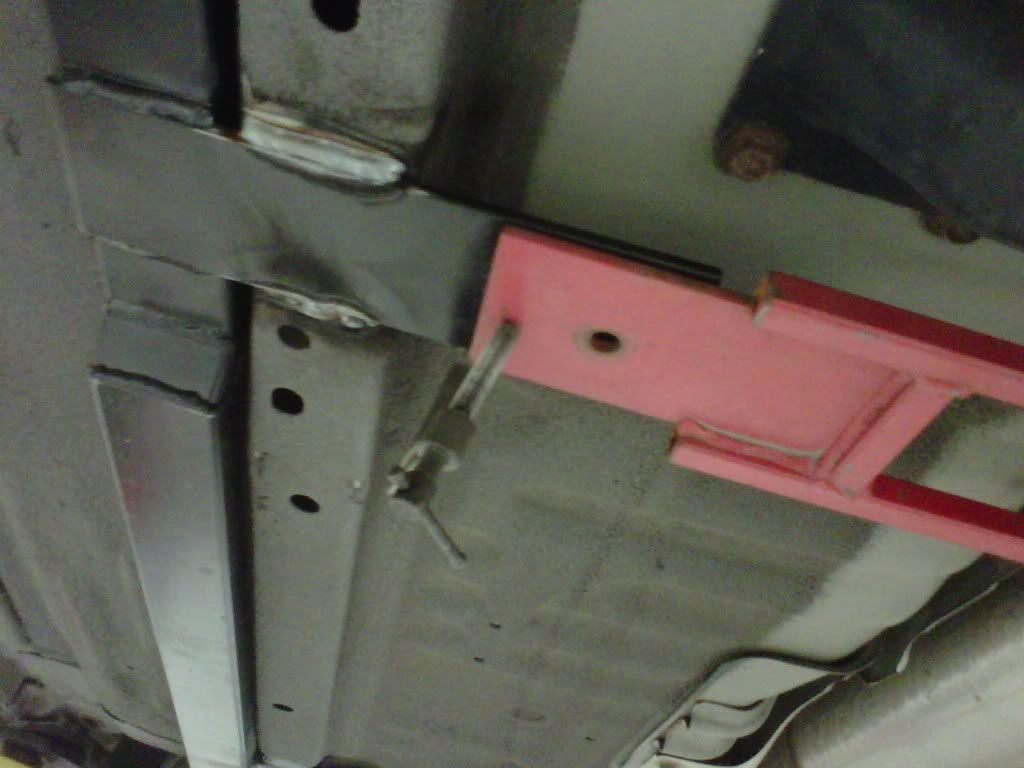
MORE OF A CLOSE UP SHOT.
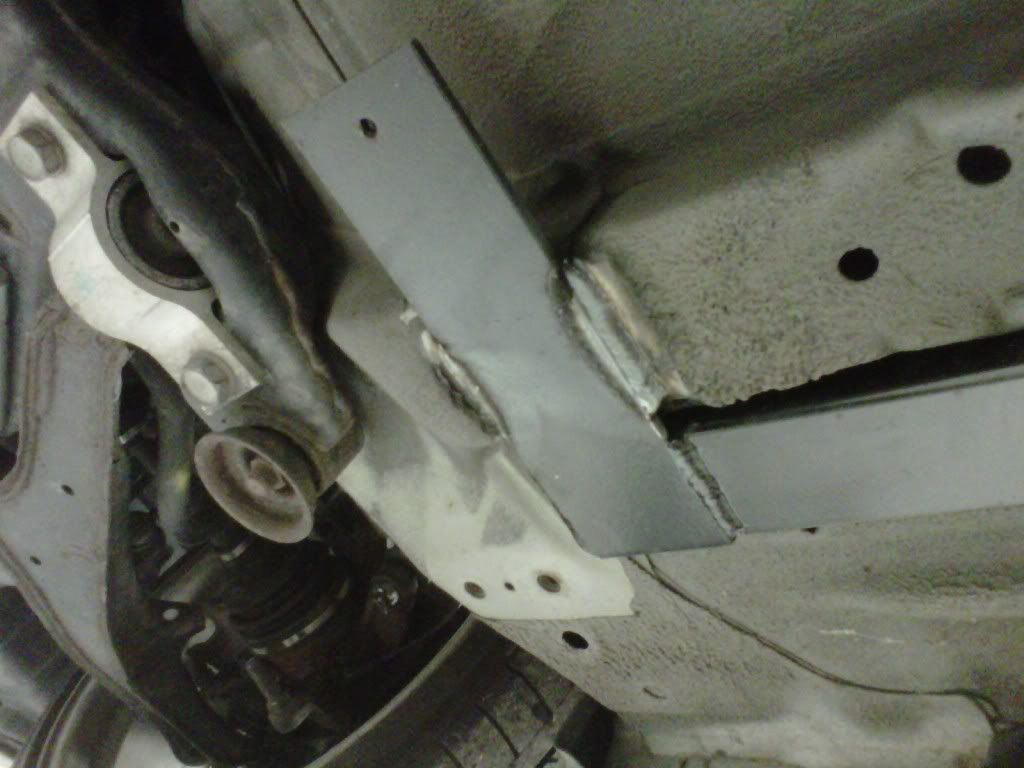
ONCE YOU HAVE THE MIDDLE SUPPORT BEAM IN PLACE AND BOLTED UP, YOU TAKE THE FINAL 4 "X" BEAMS AND PLACE THEM AND DRILL THE HOLES.
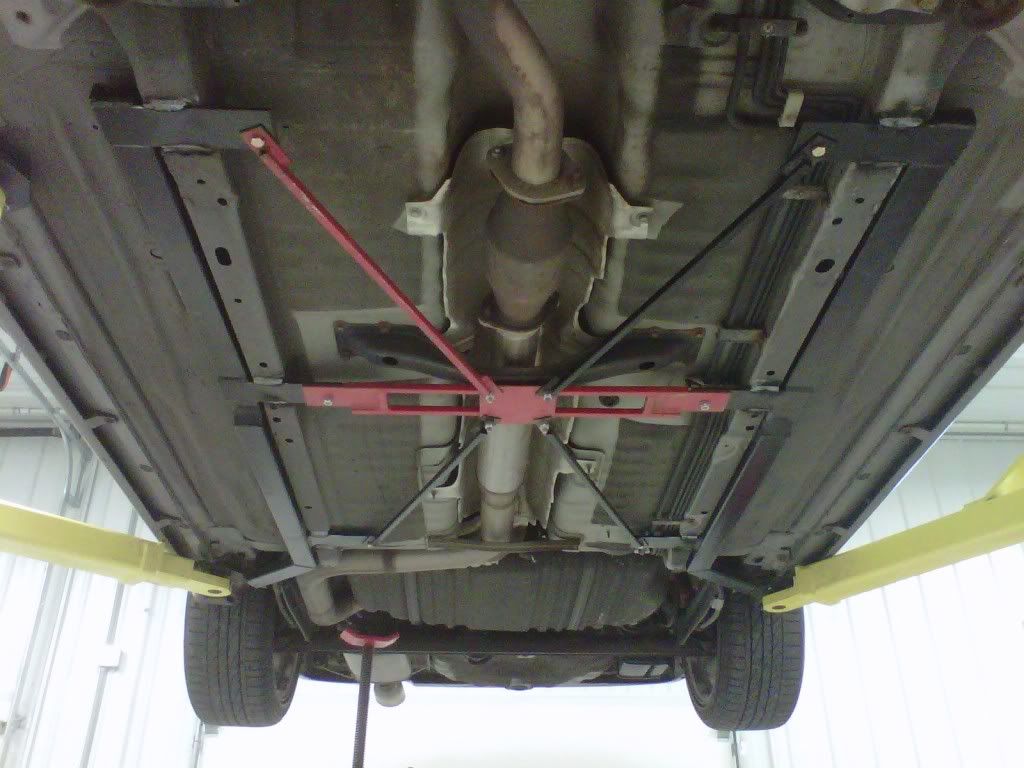
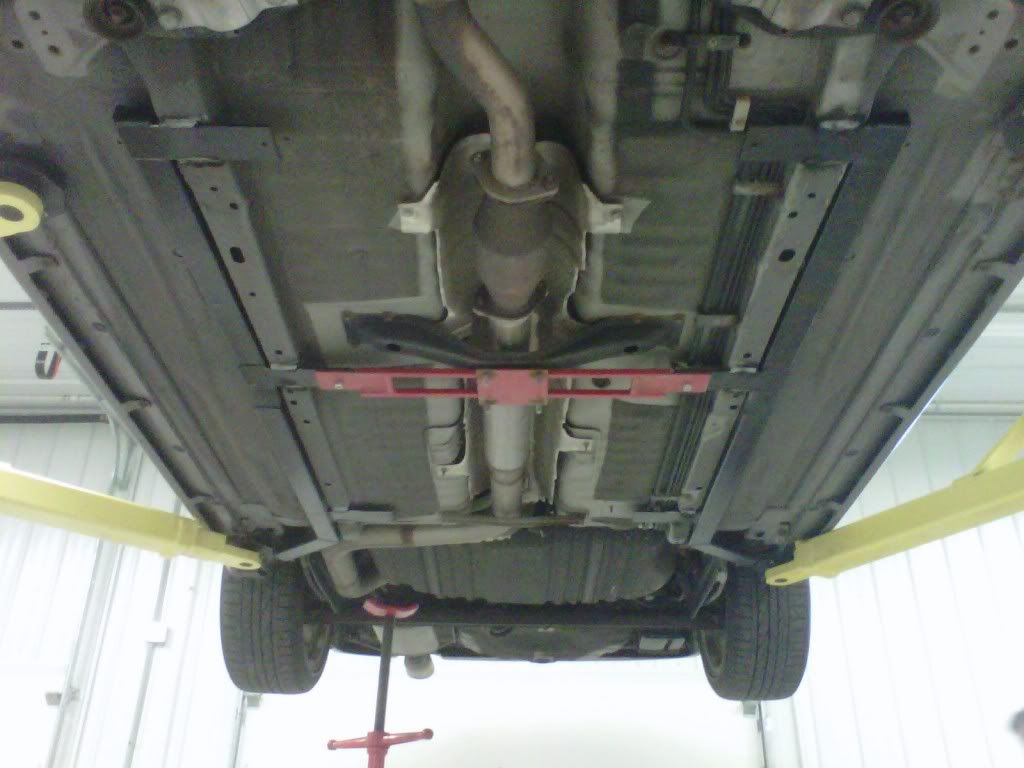
FINISHED PRODUCT.
ONCE COMPLETED SPRAY ALL POINTS WITH RUST PREVENTION STUFF AND ENJOY THE RIDE!
MY THOUGHTS ARE SIMPLE ON THESE, THEY ARE A MUST HAVE. THE FIRST TURN I TOOK OUT OF THE SHOP I FELT THE CAR WAS JUST FOR A LACK OF BETTER WORDS MORE TIGHT AND SOLID. EVERY CORNER, EVERY BUMP IT HAS A NOTICEABLE DIFFERENCE. THESE THINGS ARE FLIPPING AWESOME. I HAD A SMILE ON MY FACE FOR QUITE A WHILE. THEY ARE WORTH EVERY CENT, AND IM GLAD THAT THESE WERE DONE...COUPLED WITH COILOVERS, MY CAR HANDLES AND FEELS SO SOLID!
SO FAR I HAVE NO CLEARANCE ISSUES, AND IT ONLY REALLY DROPS YOUR CLEARANCE BY AN INCH OR SO...ALSO IT CAN HELP PROTECT YOUR UNDERCARRIAGE!
OTHER LINKS TO OTHER REVIEWS.
http://forums.maxima.org/5th-generat...pressions.html
http://forums.maxima.org/advanced-su...d-5-5-gen.html
http://forums.maxima.org/6th-generat...pressions.html
.That all said, I documented how Sean installed them. Here are some pics of during the install, it should really only take a competent shop under 2 hours to install and depending on labor rates is shouldn't really be over $250.
Here are the pics of the install. Review at the bottom. Also I included a few other links for people to read what others have said.
SUPPLIES NEEDED
WELDER
GRINDING WHEEL
WEATHER/RUST PROOFER
BASIC SOCKETS/WRENCHES
DRILL WITH GOOD BIT FOR BOLTS (doesn't come predrilled as some shops may put them up slightly crooked it's easier to drill after welded IN place)
OPTIONAL:
THIS CAN BE DONE ON JACK STANDS, OR RAMPS.
HOIST IS PREFERRED BUT YOU CAN DO THIS AT HOME WITH SOMEONE WHO KNOWS HOW TO WELD.
ONCE YOU FIND WHERE THE WELD POINTS WILL BE BY HOLDING UP THE SIDERAILS YOU START BY TAKING A GRINDING WHEEL TO GET THE WEATHER PROOFING OFF.
NEXT YOU WELD THE 3 TABS TO THE SUBFRAME WHERE YOU JUST GROUND OFF THE WEATHER PROOFING, MAKE SURE TO SAND OFF THE POWDERCOAT ON THE SFCS AS WELL.
THIS SHOT SHOWS THE REAR, ITS NOT HARD TO GET TO BUT YOU DO HAVE TO UNBOLT A LINE TO GET IN THERE, IT WILL BOLT RIGHT BACK UP.
ONCE YOU HAVE ONE SIDE DONE, SIMPLY REPEAT ON OTHER SIDE
AFTER BOTH SIDES ARE WELDED ON, YOU TAKE THE MIDDLE SUPPORT BEAM AND HOLD IT UP AND MARK WHERE YOU NEED TO DRILL THE HOLES FOR THE ACCESS BOLTS.
(WELD IF YOU NEED TO, BUT IF YOU TQ DOWN THE BOLTS IT WILL BE PERFECTLY FINE AND EASIER TO TAKE OFF TO DO EXHAUST WORK)
MORE OF A CLOSE UP SHOT.
ONCE YOU HAVE THE MIDDLE SUPPORT BEAM IN PLACE AND BOLTED UP, YOU TAKE THE FINAL 4 "X" BEAMS AND PLACE THEM AND DRILL THE HOLES.
FINISHED PRODUCT.
ONCE COMPLETED SPRAY ALL POINTS WITH RUST PREVENTION STUFF AND ENJOY THE RIDE!
MY THOUGHTS ARE SIMPLE ON THESE, THEY ARE A MUST HAVE. THE FIRST TURN I TOOK OUT OF THE SHOP I FELT THE CAR WAS JUST FOR A LACK OF BETTER WORDS MORE TIGHT AND SOLID. EVERY CORNER, EVERY BUMP IT HAS A NOTICEABLE DIFFERENCE. THESE THINGS ARE FLIPPING AWESOME. I HAD A SMILE ON MY FACE FOR QUITE A WHILE. THEY ARE WORTH EVERY CENT, AND IM GLAD THAT THESE WERE DONE...COUPLED WITH COILOVERS, MY CAR HANDLES AND FEELS SO SOLID!
SO FAR I HAVE NO CLEARANCE ISSUES, AND IT ONLY REALLY DROPS YOUR CLEARANCE BY AN INCH OR SO...ALSO IT CAN HELP PROTECT YOUR UNDERCARRIAGE!
OTHER LINKS TO OTHER REVIEWS.
http://forums.maxima.org/5th-generat...pressions.html
http://forums.maxima.org/advanced-su...d-5-5-gen.html
http://forums.maxima.org/6th-generat...pressions.html
Last edited by Stormzusmc; 05-02-2011 at 08:08 AM.


 I'd really like to get these, they are def necessary for a good handling Maxima.
05-03-2011, 05:04 AM
I'd really like to get these, they are def necessary for a good handling Maxima.
05-03-2011, 05:04 AM
#7

I'm kinda surprised the welder is wearing short sleeves. I tried that once and it ended in sunburn.
I'm glad Truax is still making these on occasion. I tried to get some from Warpspeed but Dallas is an a-hole. He epitomizes bad service. What I am going to do instead is just make a set like these. The Warpspeed ones are bent DOM tubing, but these are just straight rectangular HSS so the only special tool required is a welder. I can and have justified that purchase, but a tubing bender, not so much.
As for chassis bracing, you really can't say enough. I made a rear strut tower brace and felt a difference with it immediately as well. I can feel the car twisting less. Stiffening the rear also seems to have reduced under steer to a degree. I'm sure the difference with the SFCs is much more pronounced.

 05-04-2011, 04:01 PM
#12


Thread
Thread Starter
Forum
Replies
Last Post
Dennis Twohy
1st & 2nd Generation Maxima (1981-1984 and 1985-1988)
0
10-01-2015 06:01 PM
Pied
4th Generation Maxima (1995-1999)
0
09-26-2015 03:29 PM