How To for the DIY'er: "ledbulbz" Bright White LED Bulb Install
 03-08-2010, 06:10 PM
#1

How To for the DIY'er: "ledbulbz" Bright White LED Bulb Install
Hey guys, a few days back, I had ordered some LED Bulbs (a 62-LED Kit) off of eBay through the Vendor named "ledbulbz" - and he is now a registered user here, and I believe working on getting setup as a Vendor/Sponsor for the forum.
Anyways, here is a DIY'er How-To on the installation of the LED Bulbs into the 7th Gen Maxima (mine is a 2010).
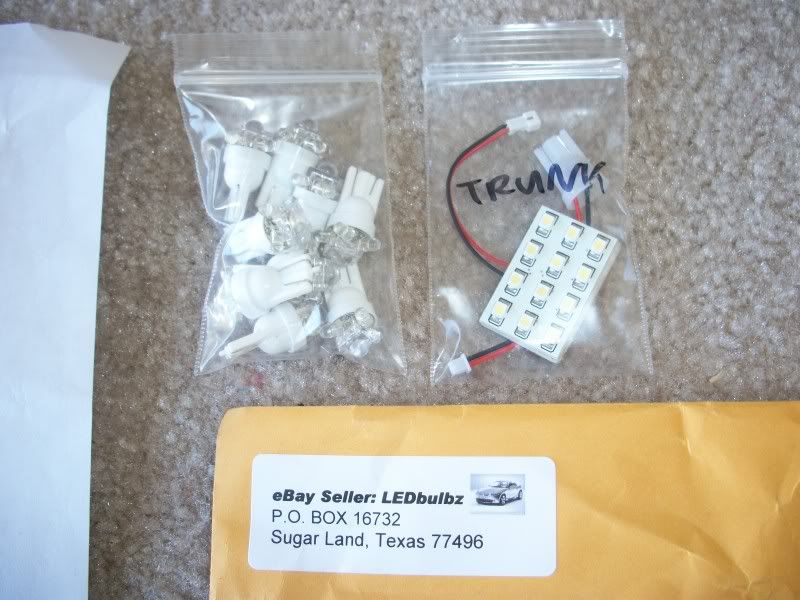
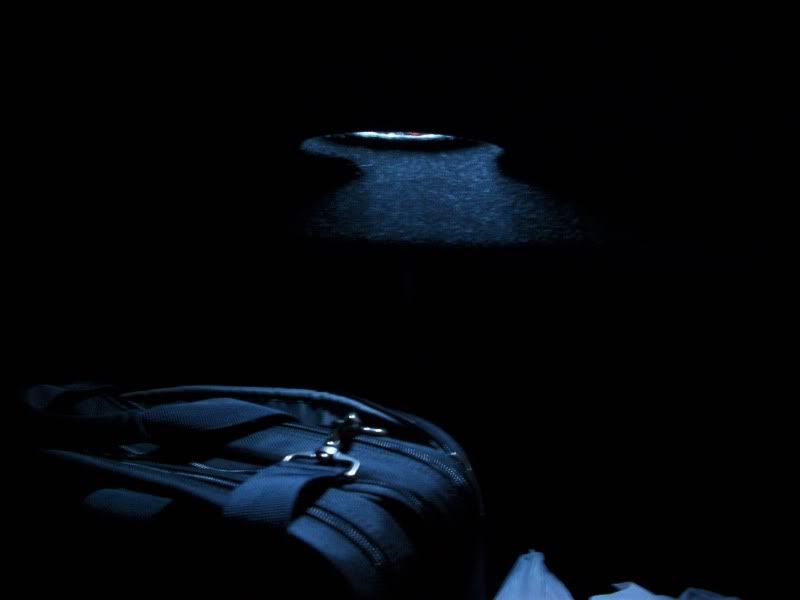
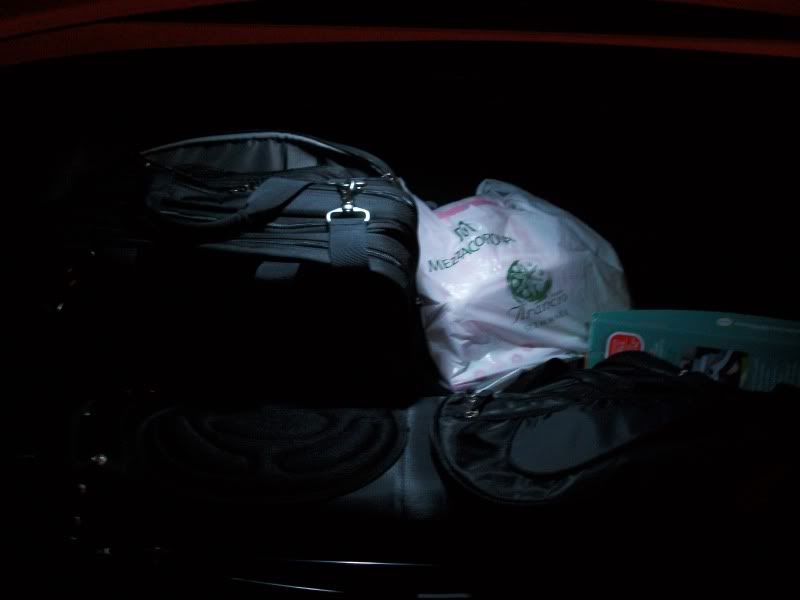
Here's the packaging, as received - was nicely bundled in bubble wrap, no broken bulbs, and arrived very quickly.
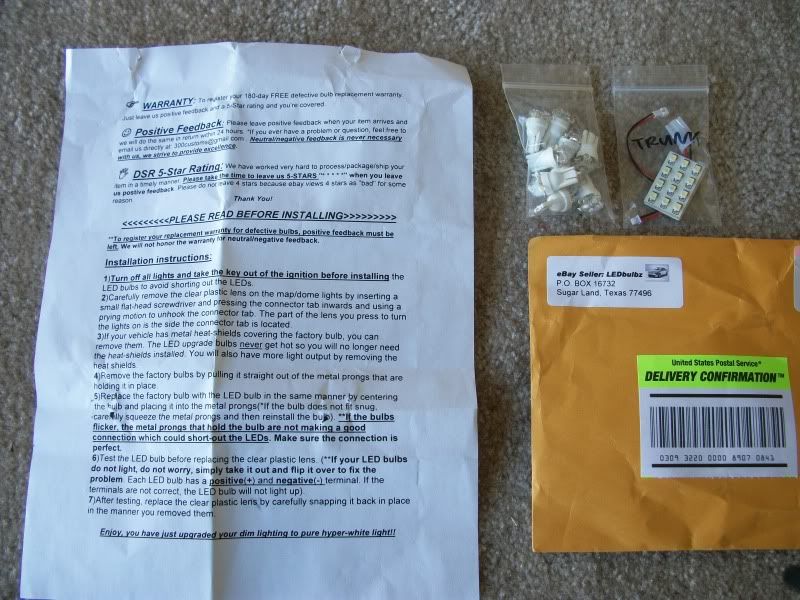
The bag that was specifically for the trunk, was labelled as such.
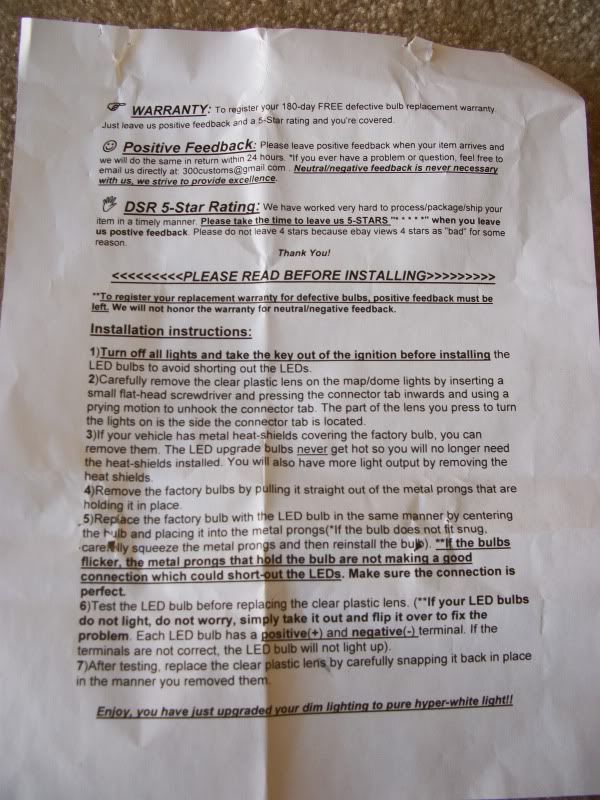
Also, "ledbulbz" included Installation Instructions, as well as the Warranty Info.
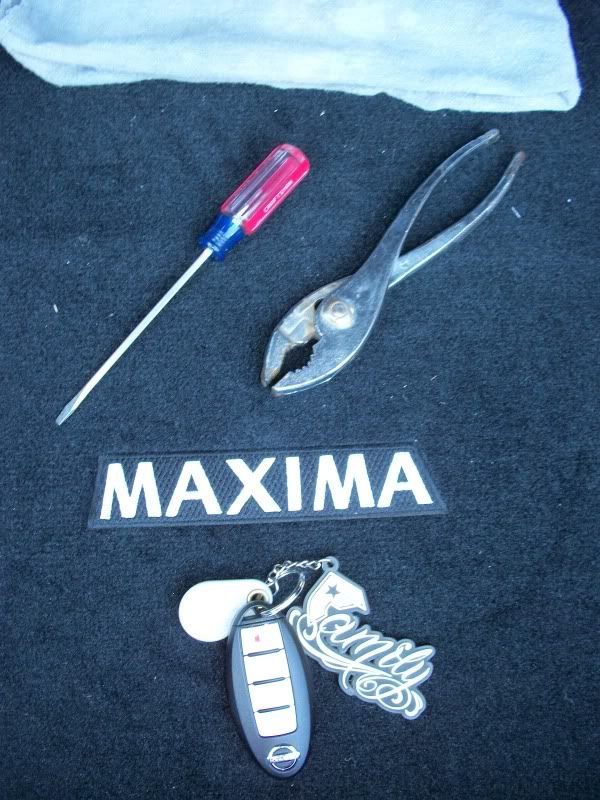
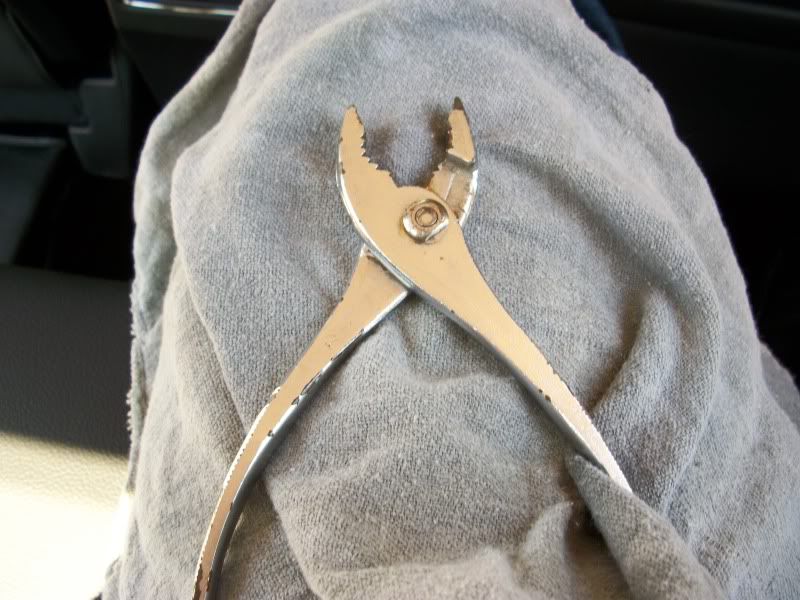
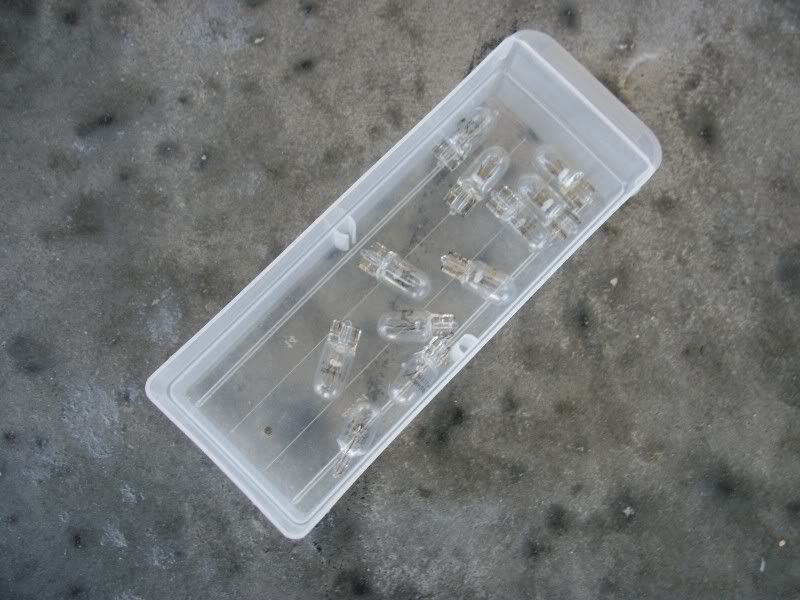
And here are all the "tools" required to pull off the installation.
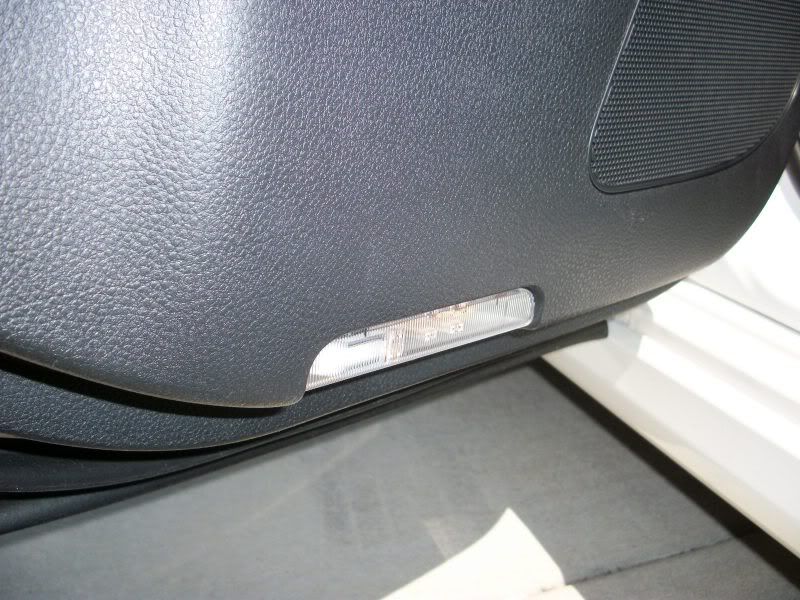
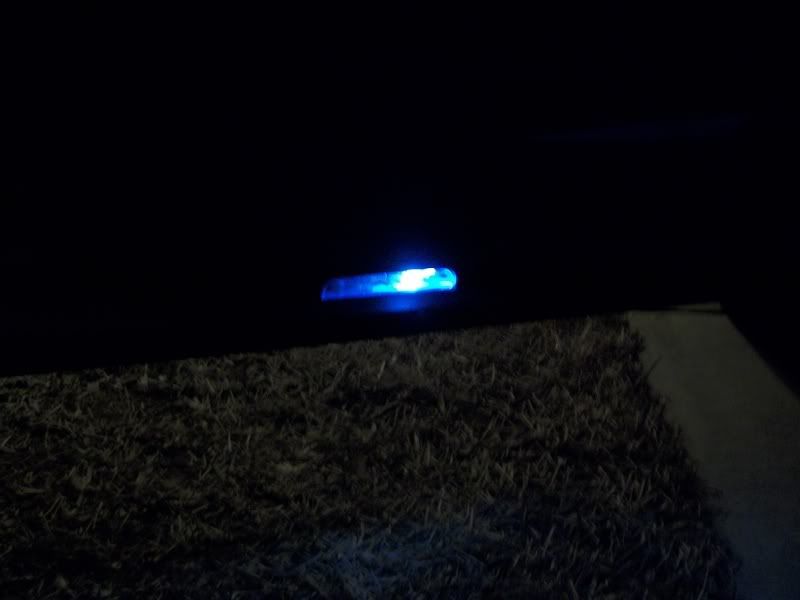
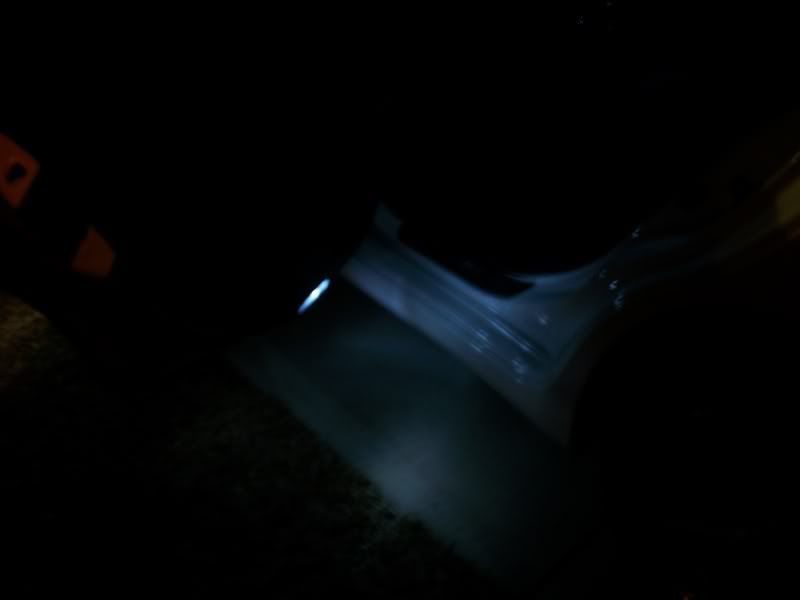
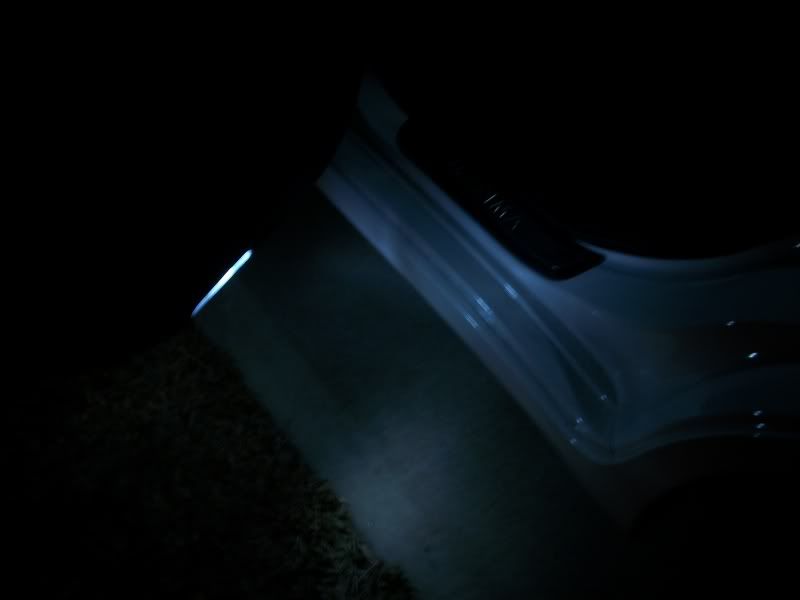
Here's a "before" shot of the door courtesy lights, or door puddle lights as they're sometime called. This was w/the stock orange-ish lights.
Anyways, here is a DIY'er How-To on the installation of the LED Bulbs into the 7th Gen Maxima (mine is a 2010).
Here's the packaging, as received - was nicely bundled in bubble wrap, no broken bulbs, and arrived very quickly.
The bag that was specifically for the trunk, was labelled as such.
Also, "ledbulbz" included Installation Instructions, as well as the Warranty Info.
And here are all the "tools" required to pull off the installation.
Here's a "before" shot of the door courtesy lights, or door puddle lights as they're sometime called. This was w/the stock orange-ish lights.
.......... continued on next post ..........
Last edited by MiDiablo; 03-10-2010 at 06:16 AM.
 03-08-2010, 06:11 PM
#2
I started the installation by using my small Craftsman Screwdriver to pry the plastic cover away from the door panel, being careful not to apply too much pressure as it could gar/scar up the plastic, or possibly also break the clear plastic lens.
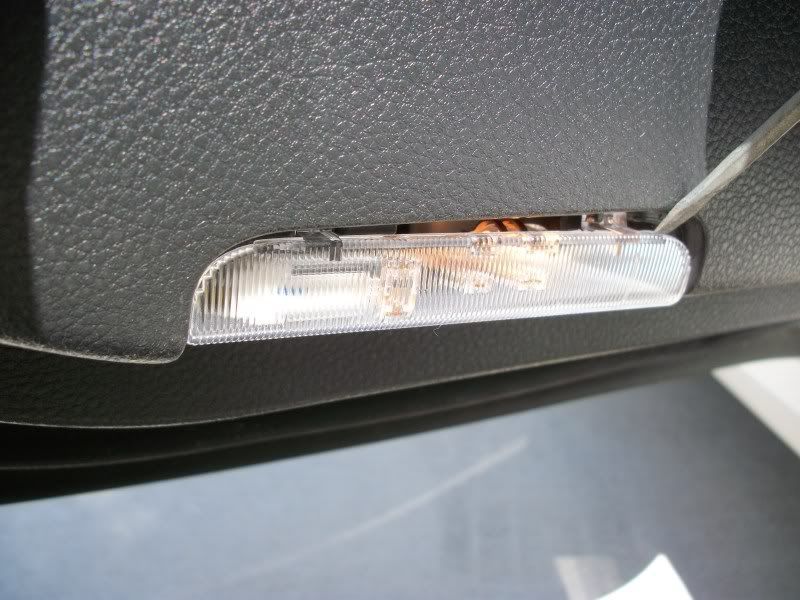
After a small pry with the screwdriver, you can visibly see the way the lens secures to the door panel, thus allowing you to safely dismantle it the rest of the way.
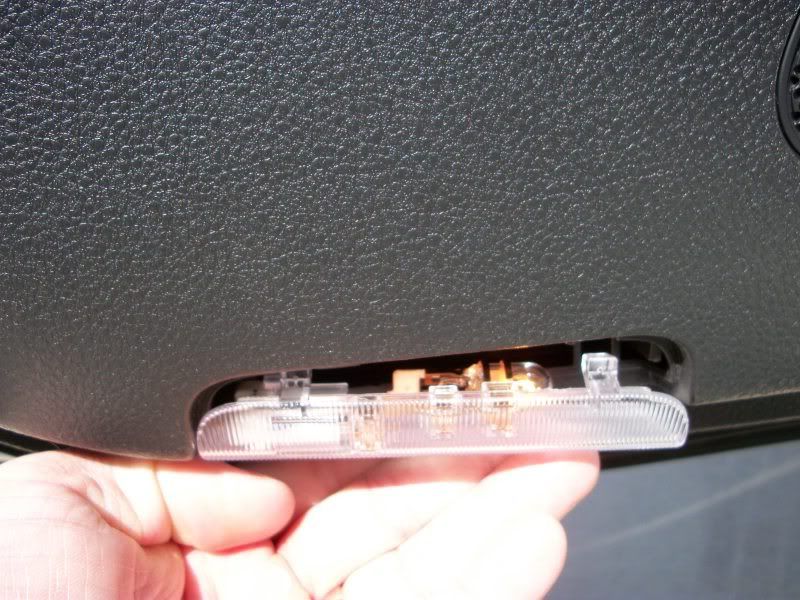
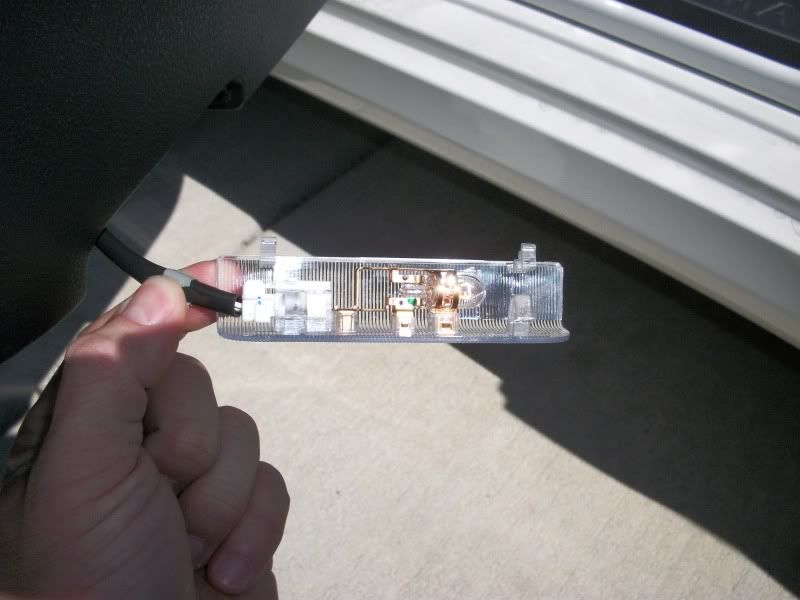
Once taken out of the door panel, I simply used the screwdriver to push out the stock orange bulb.
With the stock bulb out, I removed an LED from the package, and placed it in the light socket. At first it did not light. This is a 50/50 shot, as the LED's do have a positive (+) and a negative (-) each, so if it does not light at first, flip the LED over/around and reinstall - worked like a charm on each of them that did not fire on original placement.
After a small pry with the screwdriver, you can visibly see the way the lens secures to the door panel, thus allowing you to safely dismantle it the rest of the way.
Once taken out of the door panel, I simply used the screwdriver to push out the stock orange bulb.
With the stock bulb out, I removed an LED from the package, and placed it in the light socket. At first it did not light. This is a 50/50 shot, as the LED's do have a positive (+) and a negative (-) each, so if it does not light at first, flip the LED over/around and reinstall - worked like a charm on each of them that did not fire on original placement.
.......... continued on next post ..........
03-08-2010, 06:12 PM
#3
Once the bulb is secured, you can begin to reinstall the lens into the door panel. I started by inserting the bottom tabs first, and then rotating (while pushing) towards the top of the lens, allowing it to secure back in its place safely w/o any breakage (a huge plus, lol).
.......... continued on next post ..........
03-08-2010, 06:13 PM
#4
...and voila! Door panel light is done. Repeat this 3 more times (duh).
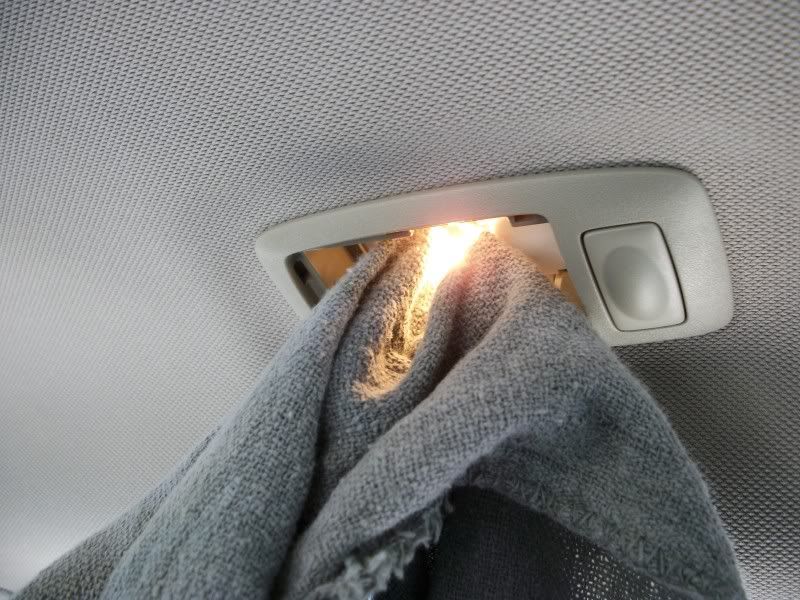
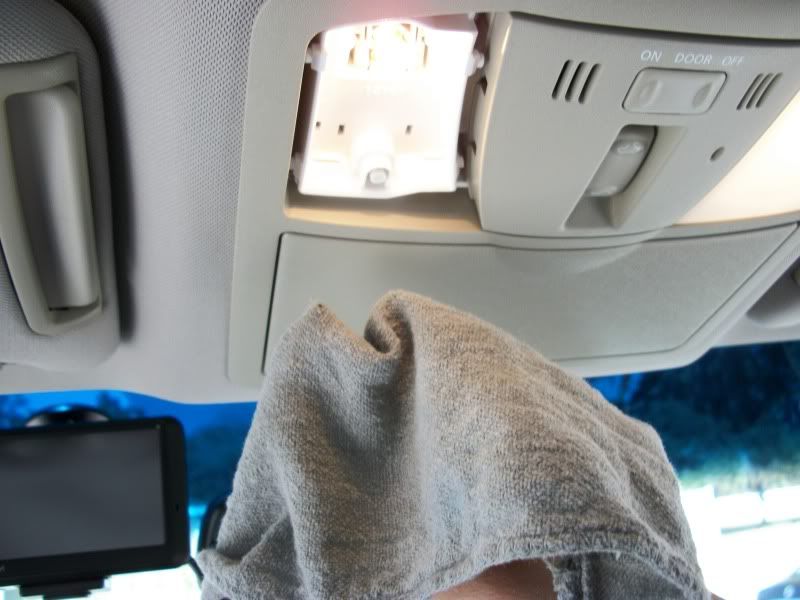
Next I moved on to the rear map lights over the passenger's heads. Basically the same exact process, but I used a pair of pliers and a small clean towel to help w/the removal of the hot bulbs from the fixture(s).
Stock look, oem orange bulbs.
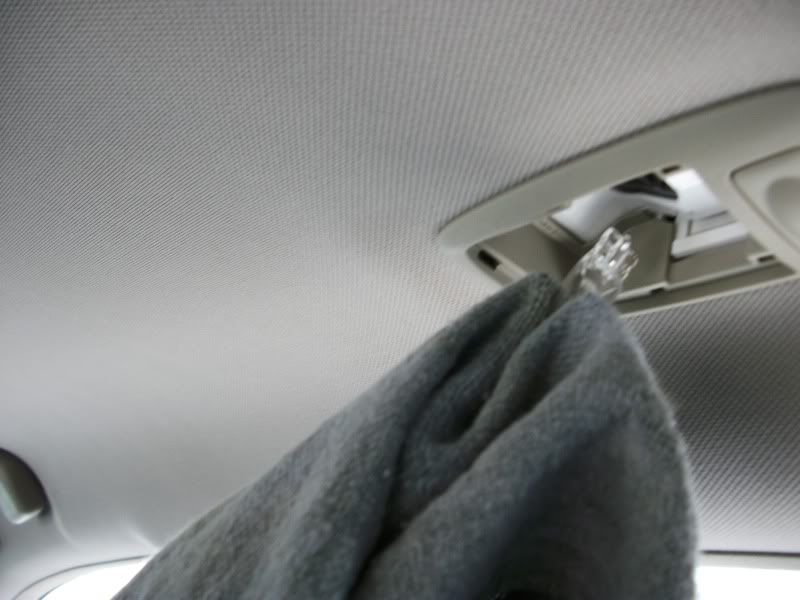
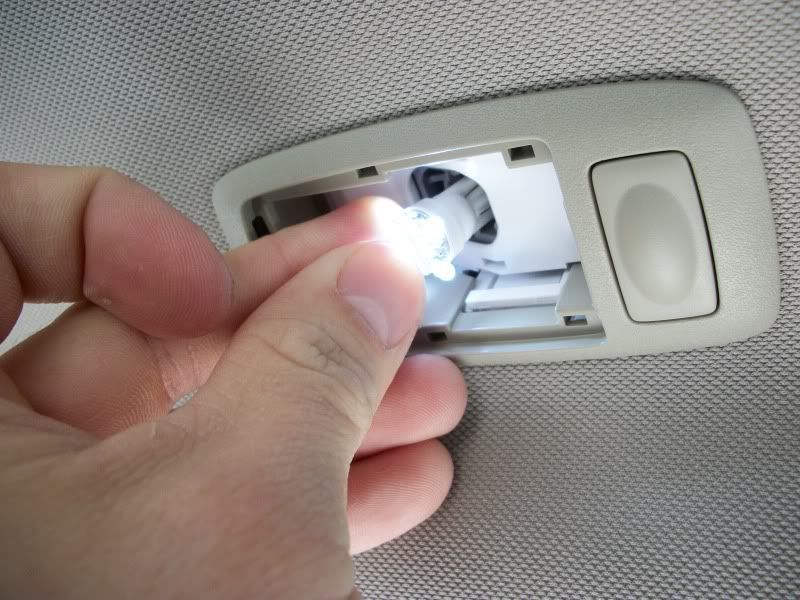
Again, I started the installation by using my small Craftsman Screwdriver to pry the plastic cover away from the headliner / light fixture, again being careful not to apply too much pressure as it could gar/scar up the plastic, or possibly also break the plastic lens.
After a small pry with the screwdriver, you can visibly see the way the lens secures to the headliner, thus allowing you to safely dismantle it the rest of the way.
.......... continued on next post ..........
03-08-2010, 06:14 PM
#5
Here is where the pliers & towel came into play, when removing the hot bulbs.
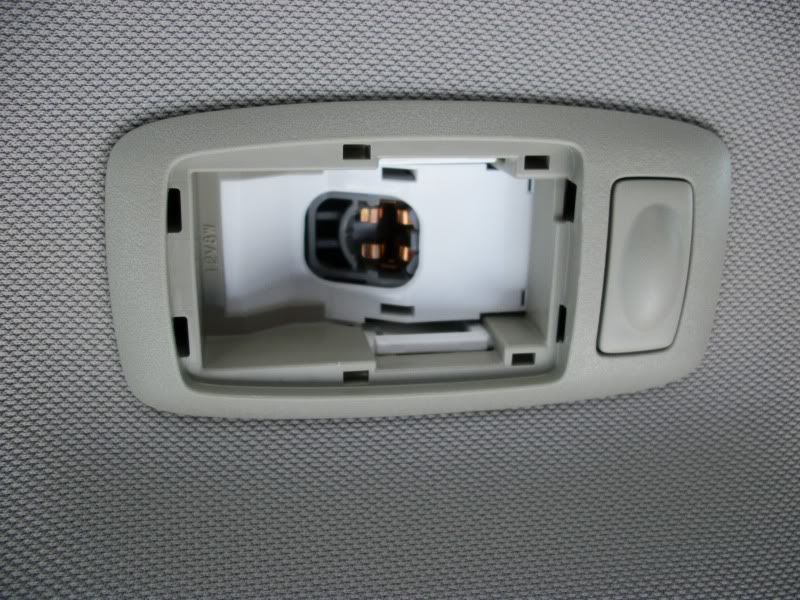
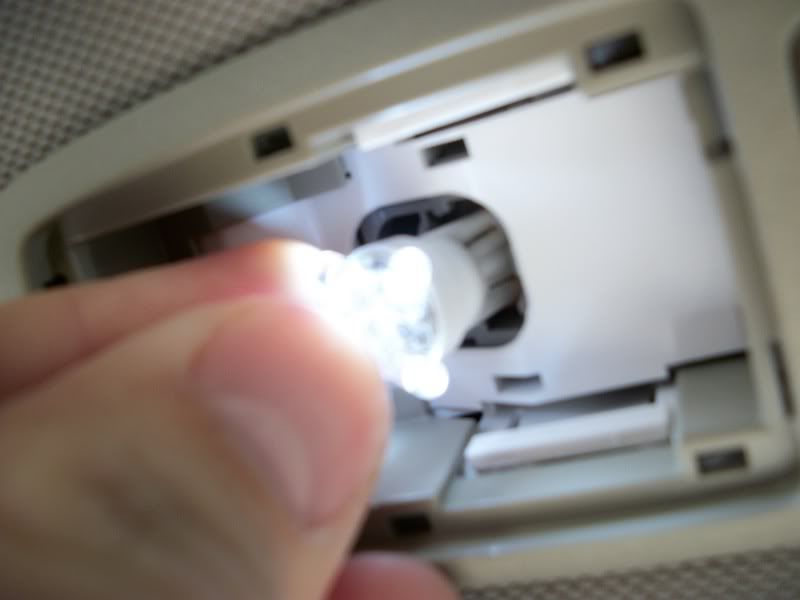
With the stock bulb out, remove another LED from the package, and place it in the light socket. If at first it does not light, it's okay. This is a 50/50 shot, as the LED's do have a positive (+) and a negative (-) each, so if it does not light at first, flip the LED over/around and reinstall, making sure that the terminals are in line with the brass receiving terminals.
With the stock bulb out, remove another LED from the package, and place it in the light socket. If at first it does not light, it's okay. This is a 50/50 shot, as the LED's do have a positive (+) and a negative (-) each, so if it does not light at first, flip the LED over/around and reinstall, making sure that the terminals are in line with the brass receiving terminals.
.......... continued on next post ..........
03-08-2010, 06:14 PM
#6
Once the bulb is secured, you can begin to reinstall the lens into the headliner light fixture. I started by inserting the front tabs first, and then rotating (while pushing) towards the back of the lens, allowing it to secure back in its place safely w/o any breakage here also!
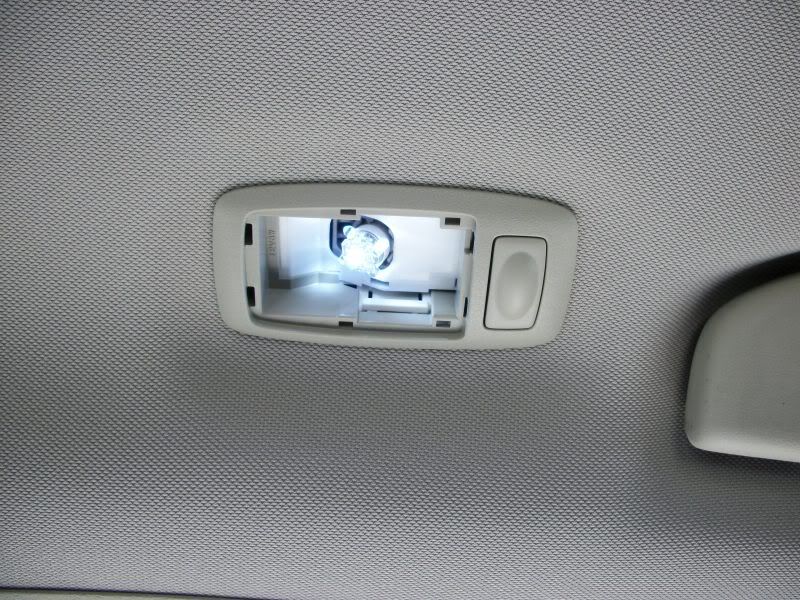
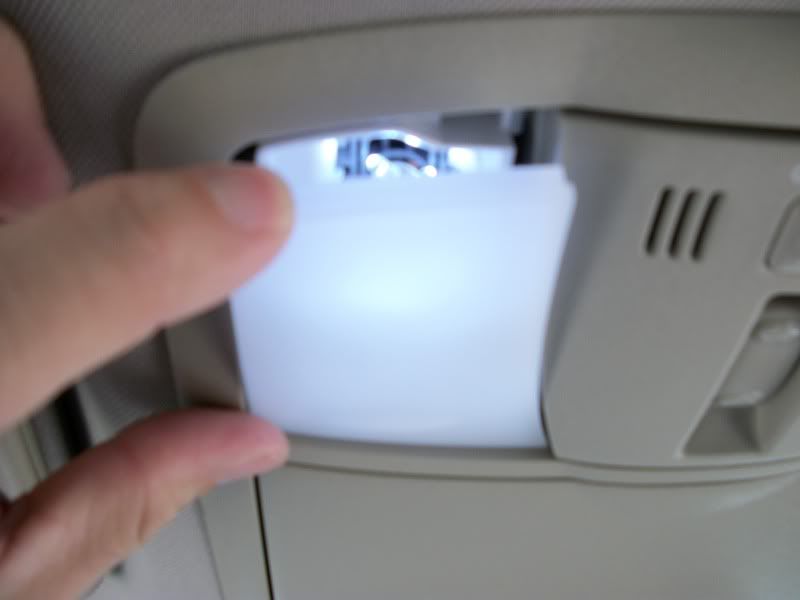
Voila...
.......... continued on next post ..........
03-08-2010, 06:15 PM
#7
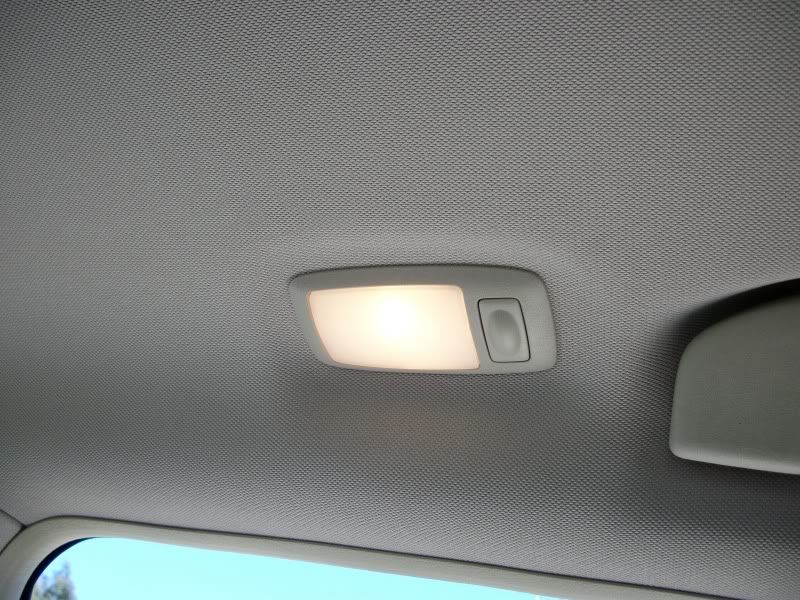
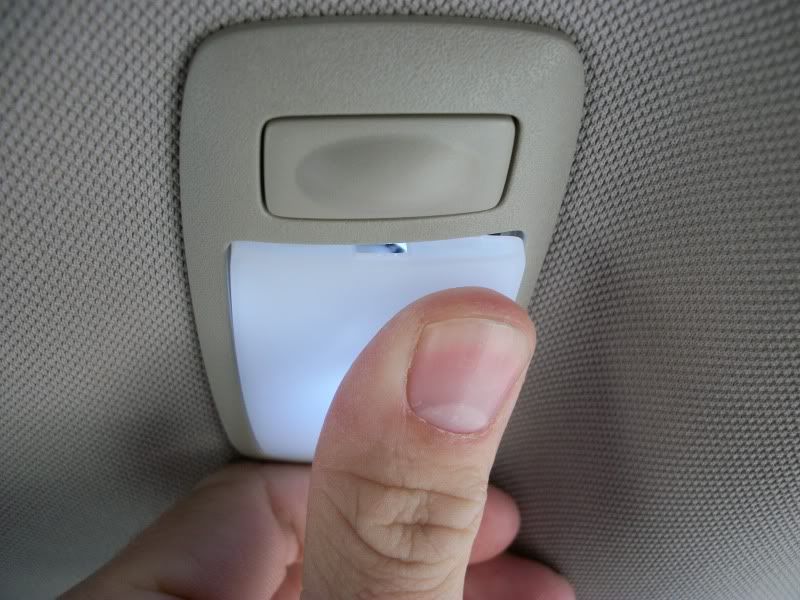
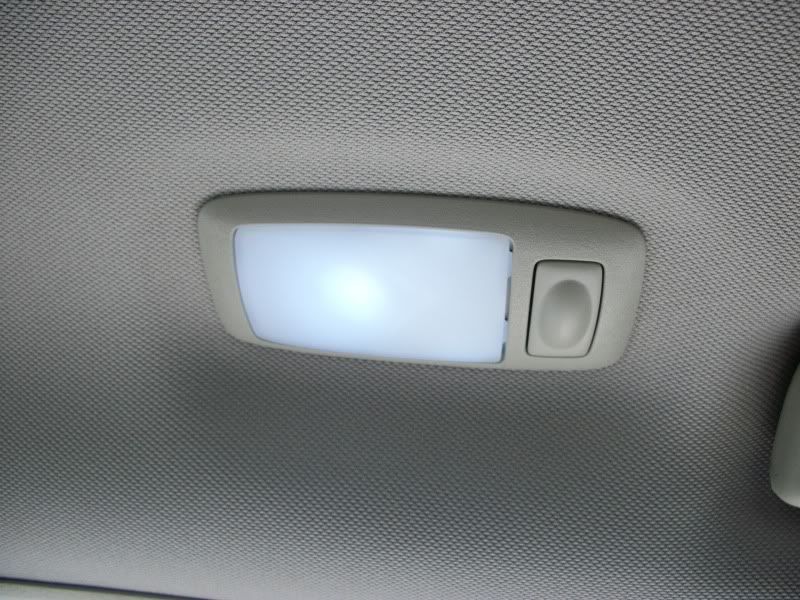
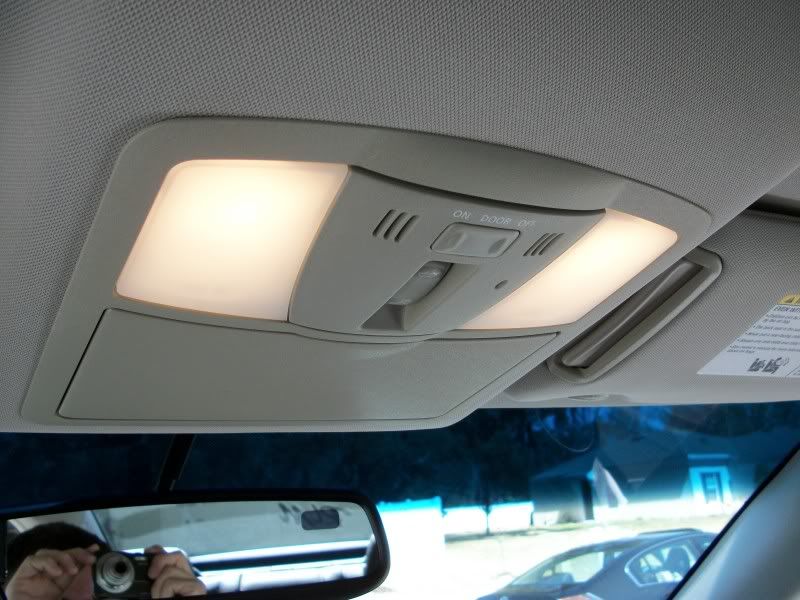
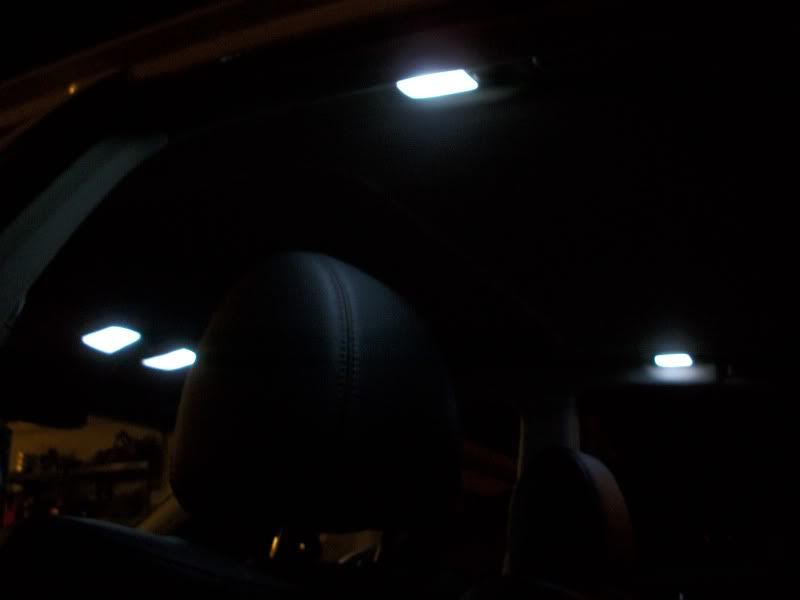
Repeat a 2nd time over the other passenger's head, and these are now done as well! Now it's time to move on to the overhead map lights for the front passenger area.
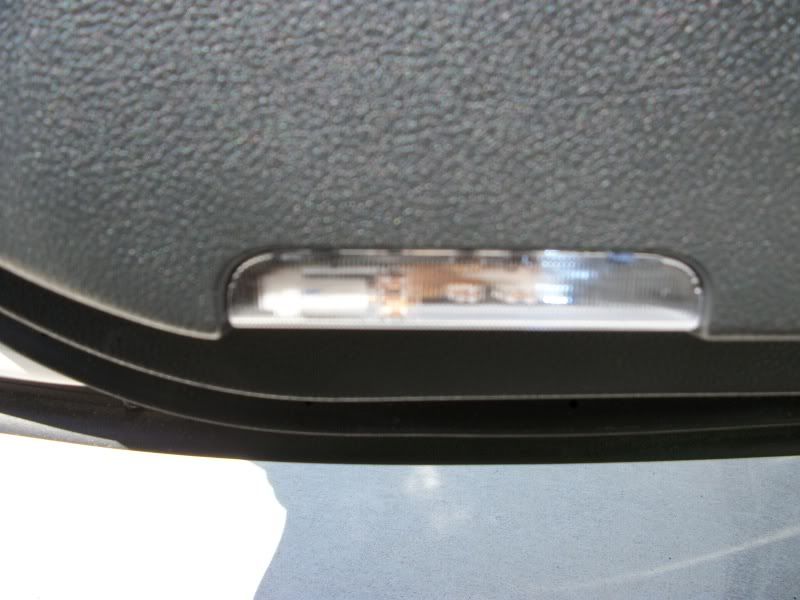
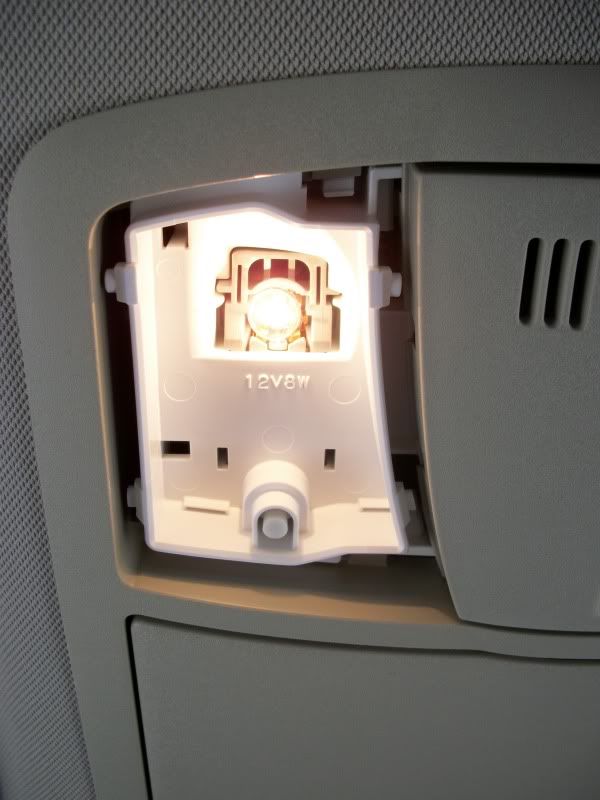
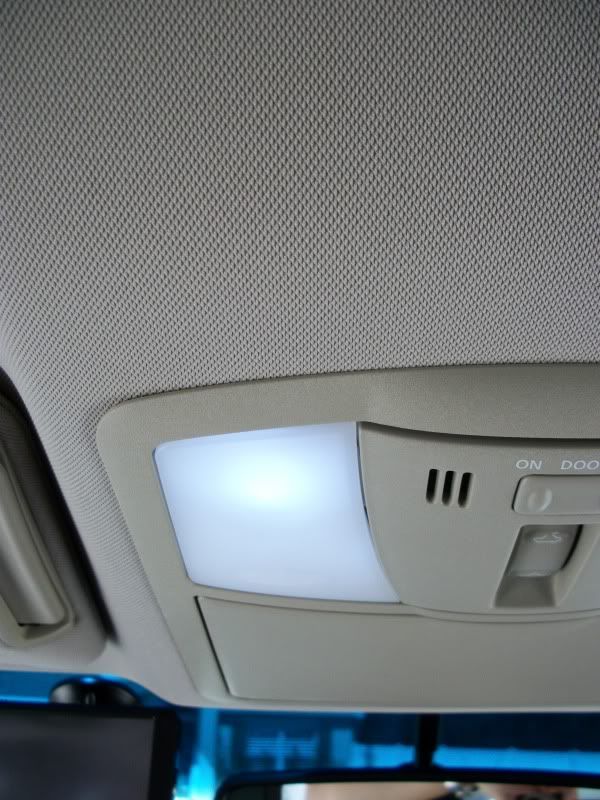
Before.
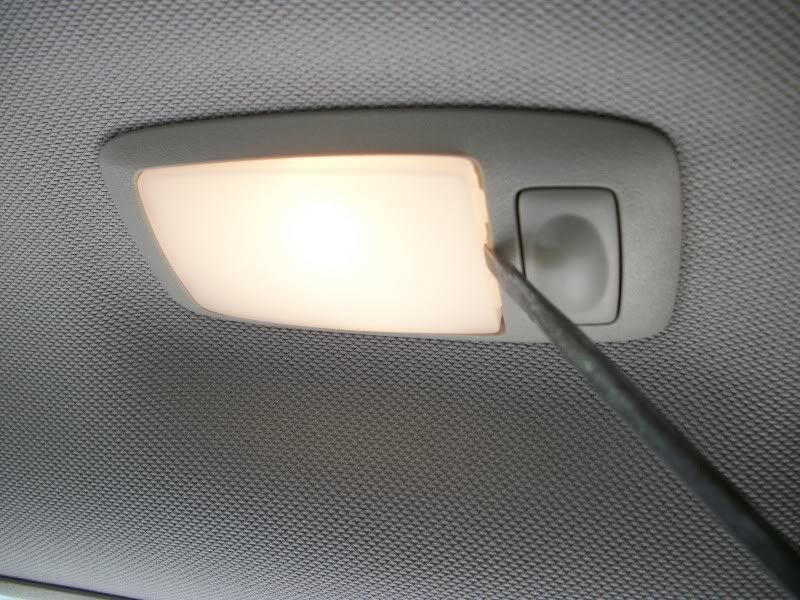
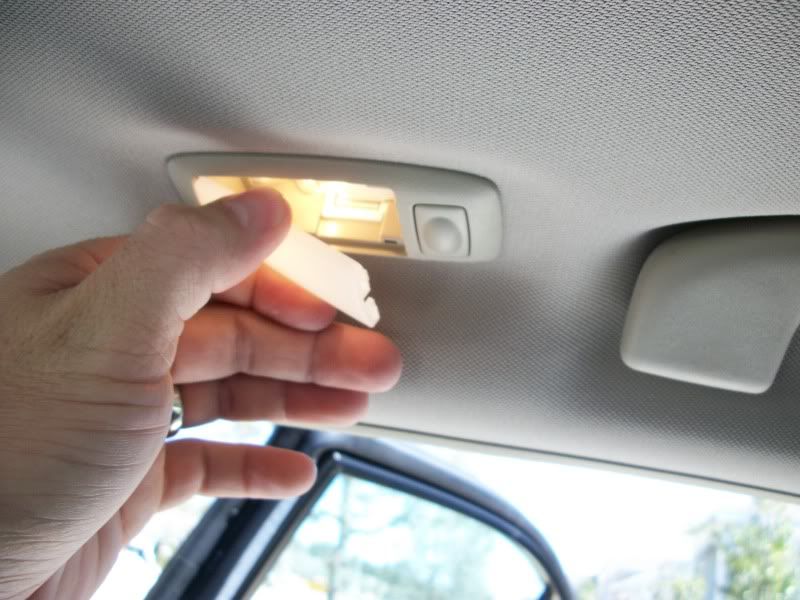
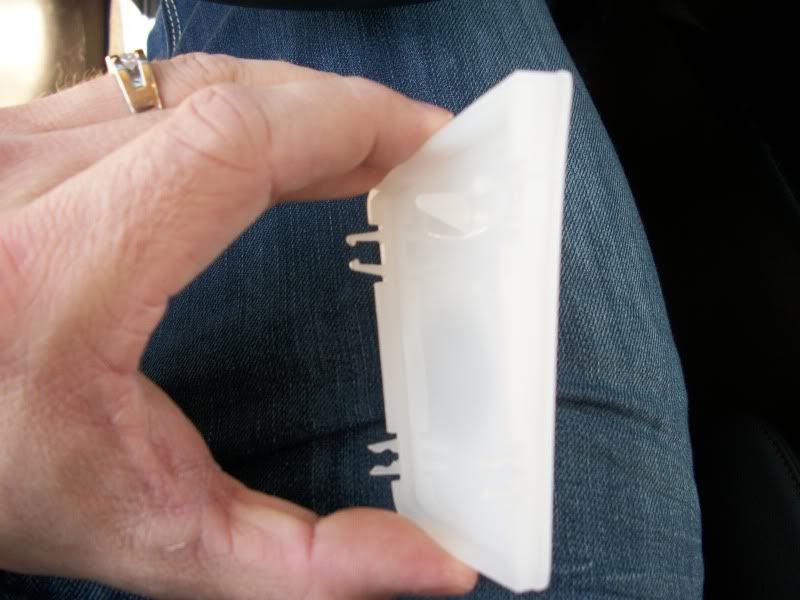
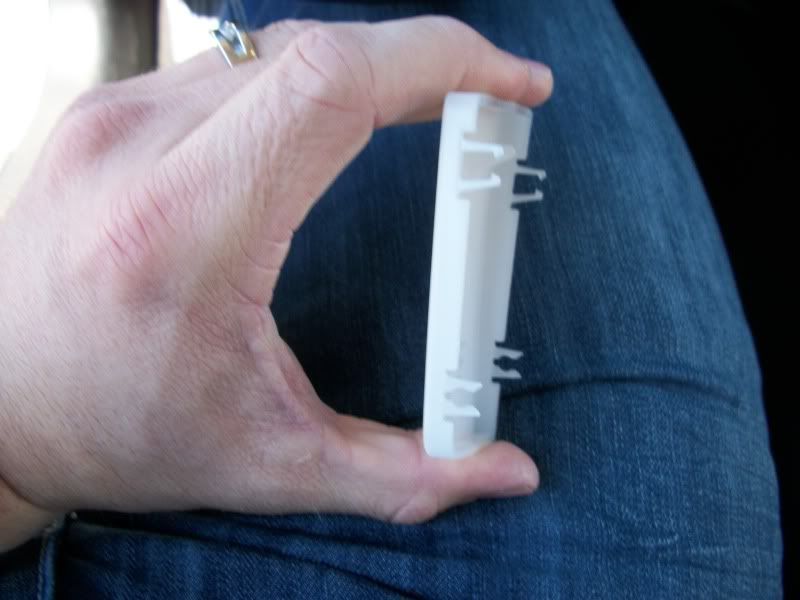
Repeat the same processes we've used in the previous removal of the plastic lenses. If you can't figure it out by now, give up!
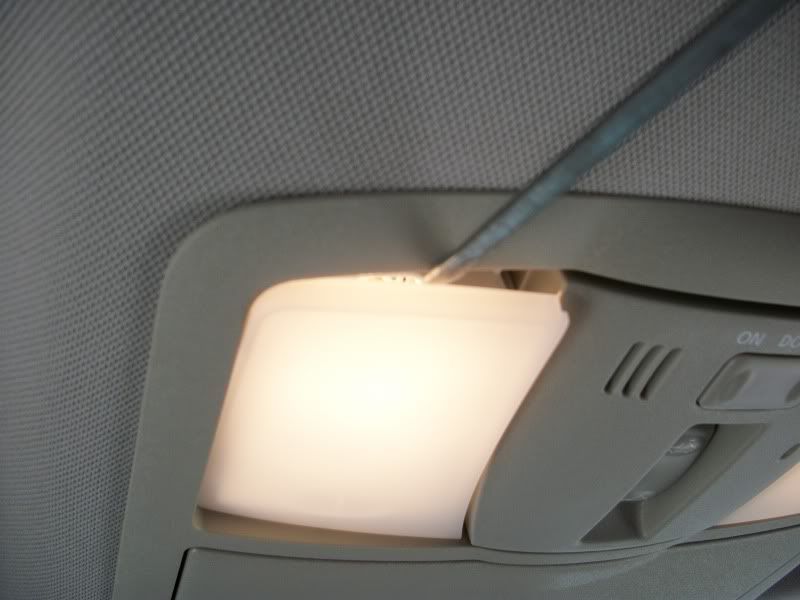
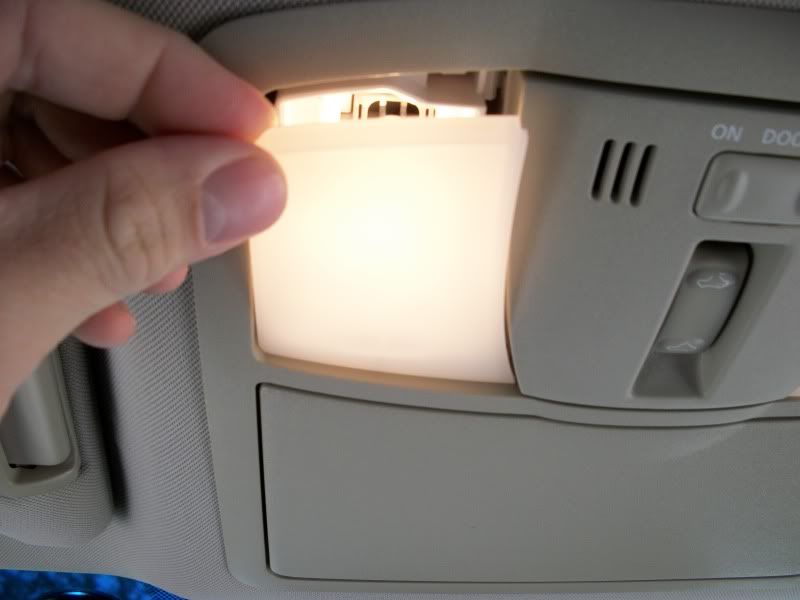
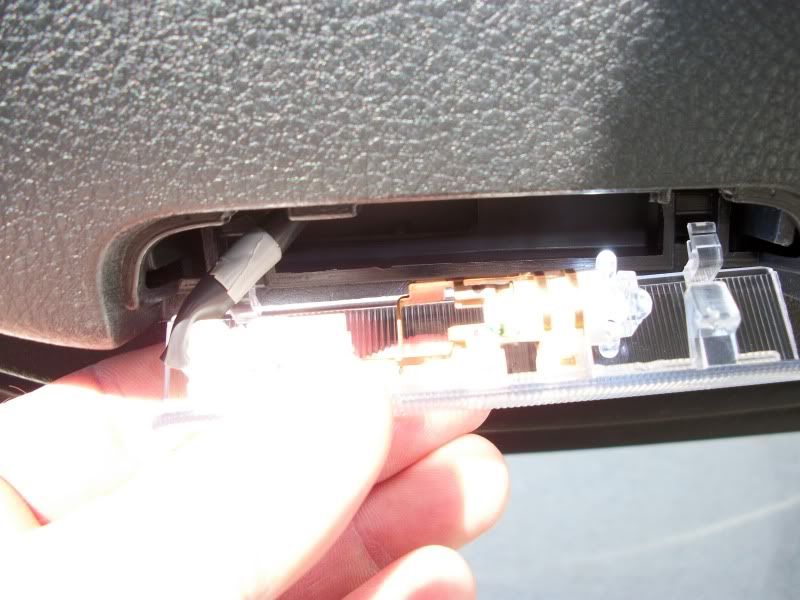
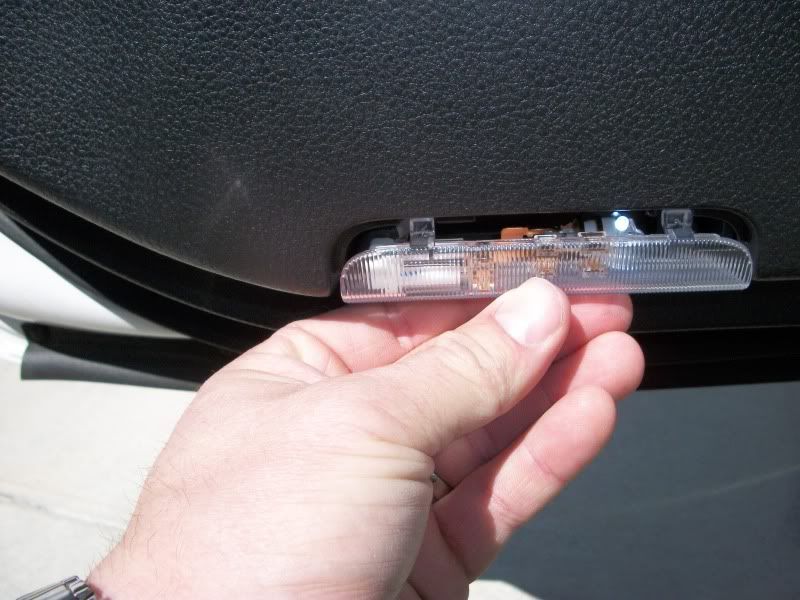
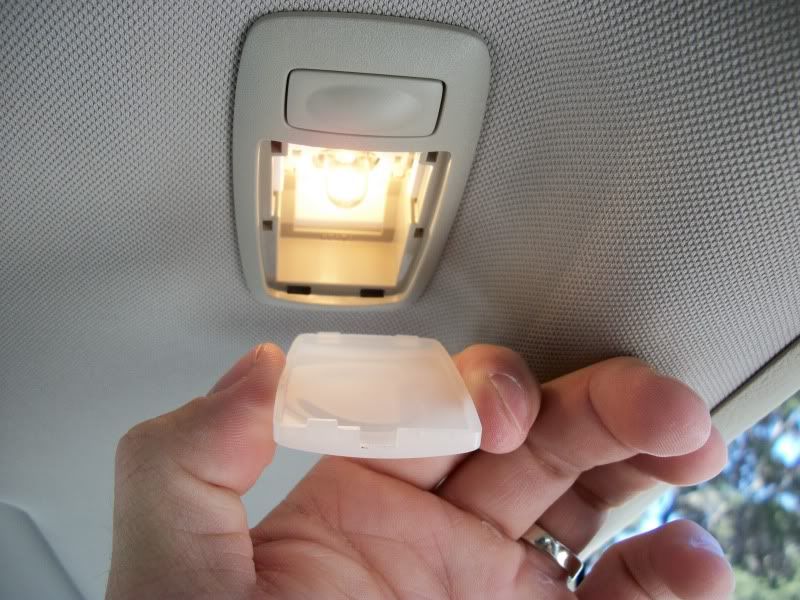
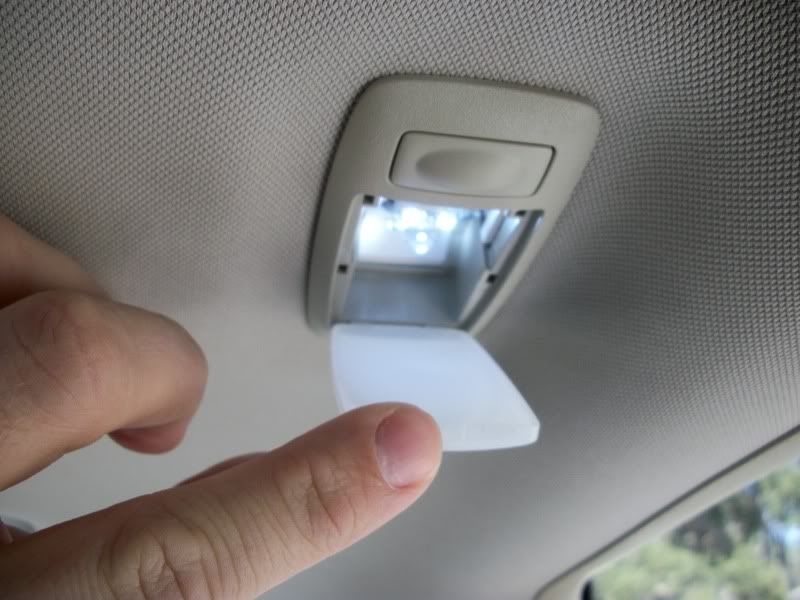
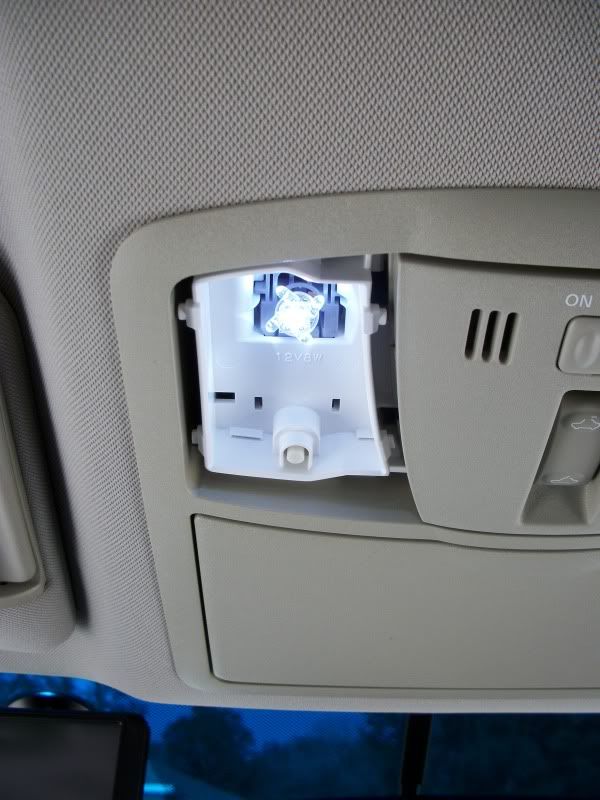
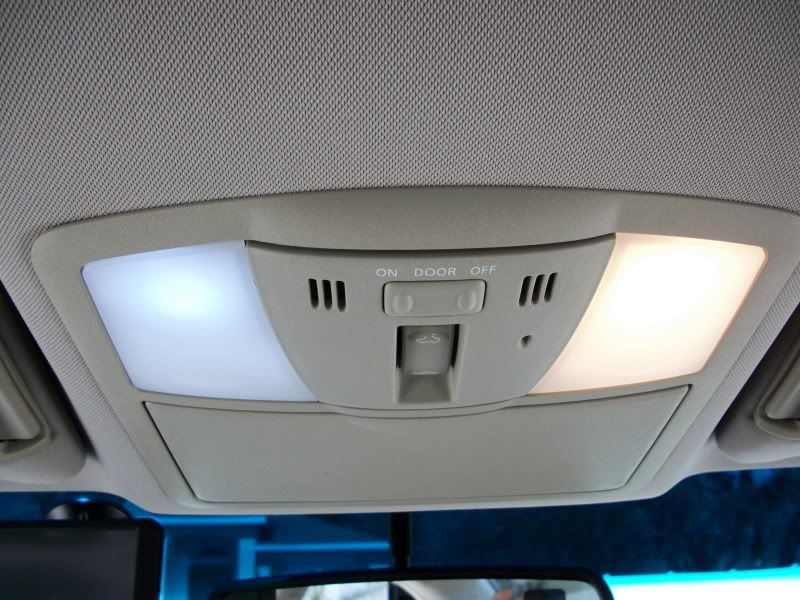
Took these photos to specifically allow you to understand how these overhead front map light lenses actually install / remove.
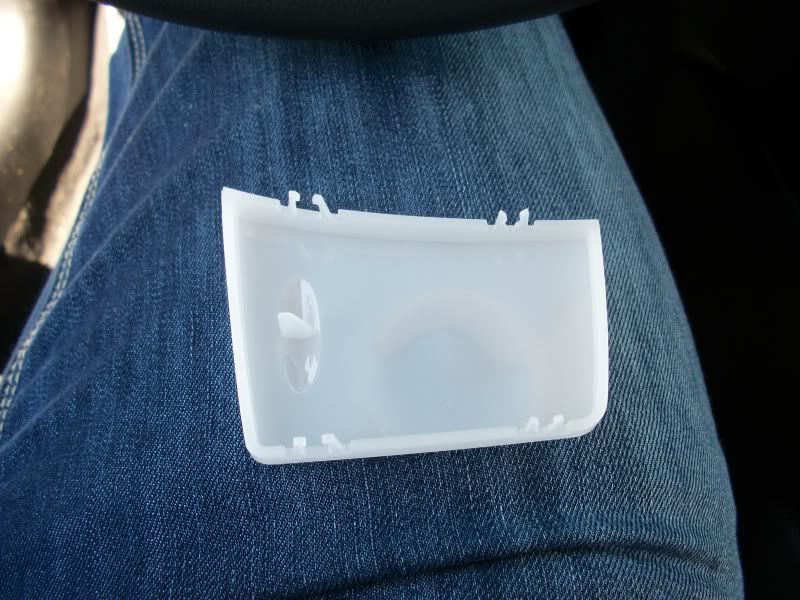
Before.
Repeat the same processes we've used in the previous removal of the plastic lenses. If you can't figure it out by now, give up!
Took these photos to specifically allow you to understand how these overhead front map light lenses actually install / remove.
.......... continued on next post ..........
 03-08-2010, 06:17 PM
#9
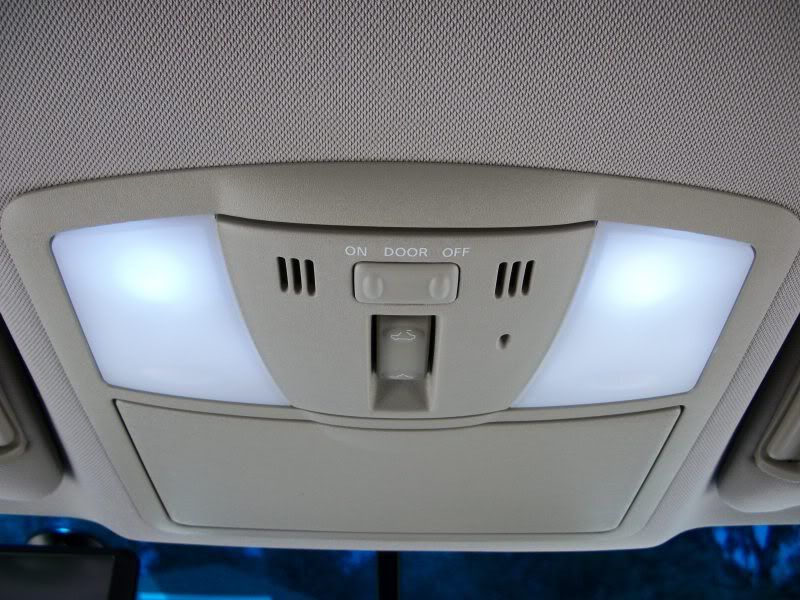
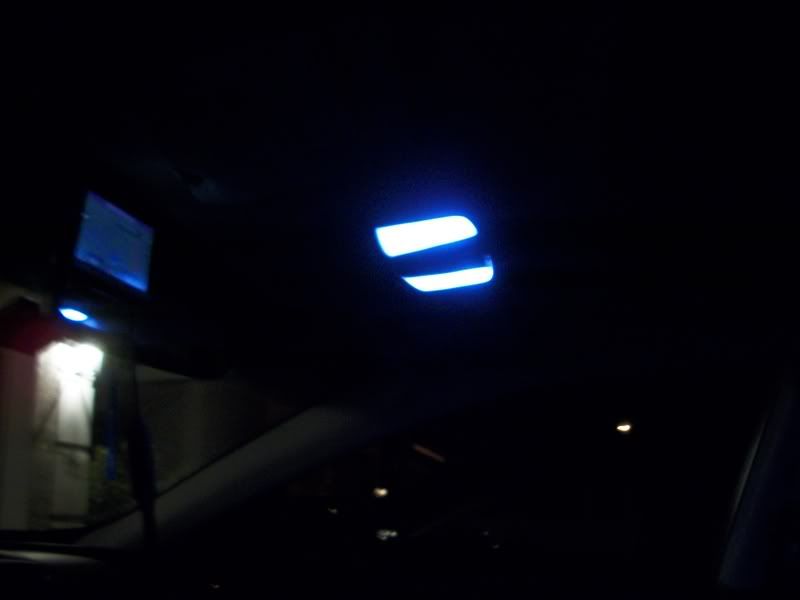
Reinsert plastic lenses.
LED on left, OEM on right.
Repeat for 2nd side.
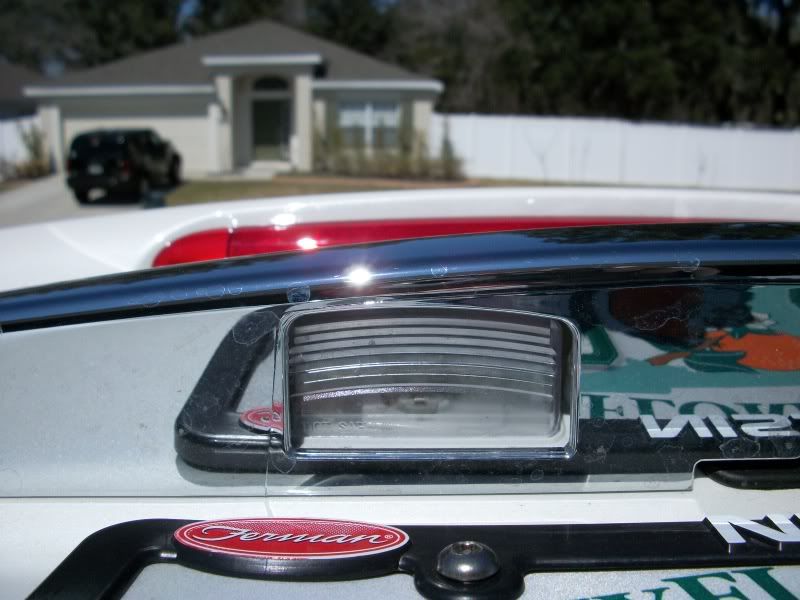
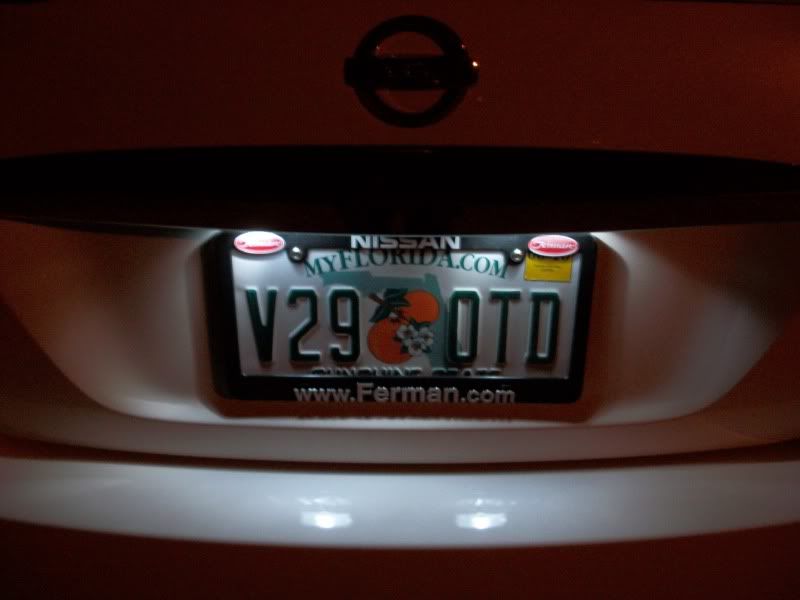
Now with the interior lights completed (sans under dash lights; did not order with my kit, will order and install at a later date, along with HID�s and rear LED reverse bulbs), it is on to the tag and trunk lights.
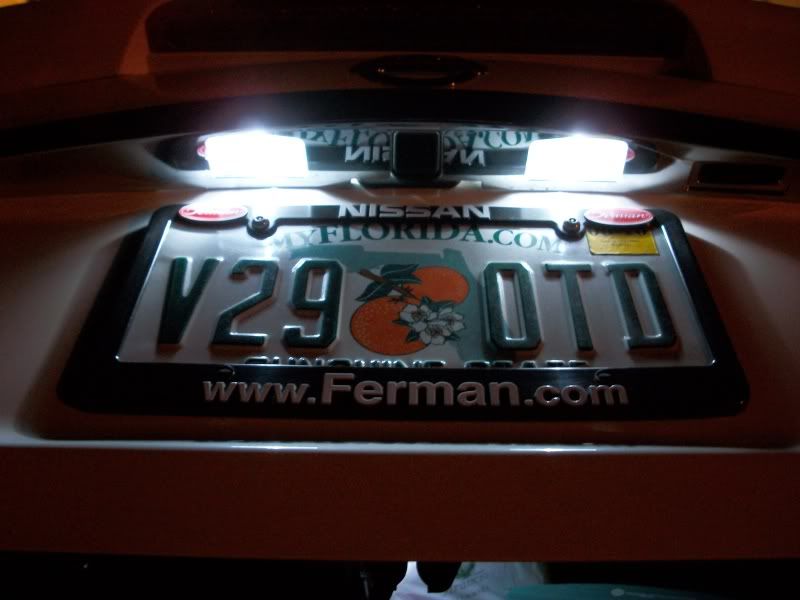
Stock tag lights.
LED on left, OEM on right.
Repeat for 2nd side.
Now with the interior lights completed (sans under dash lights; did not order with my kit, will order and install at a later date, along with HID�s and rear LED reverse bulbs), it is on to the tag and trunk lights.
Stock tag lights.
.......... continued on next post ..........
03-08-2010, 06:17 PM
#10
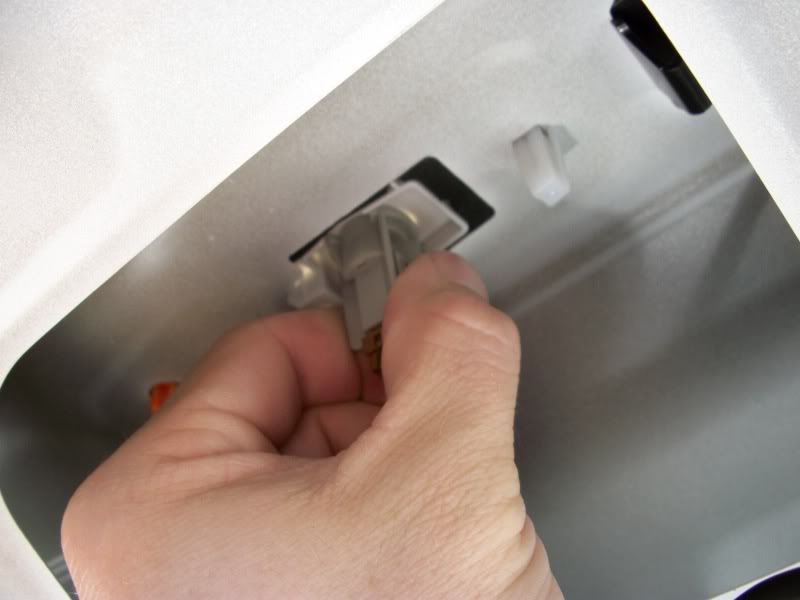
Begin by locating these wonderful little plastic plugs.
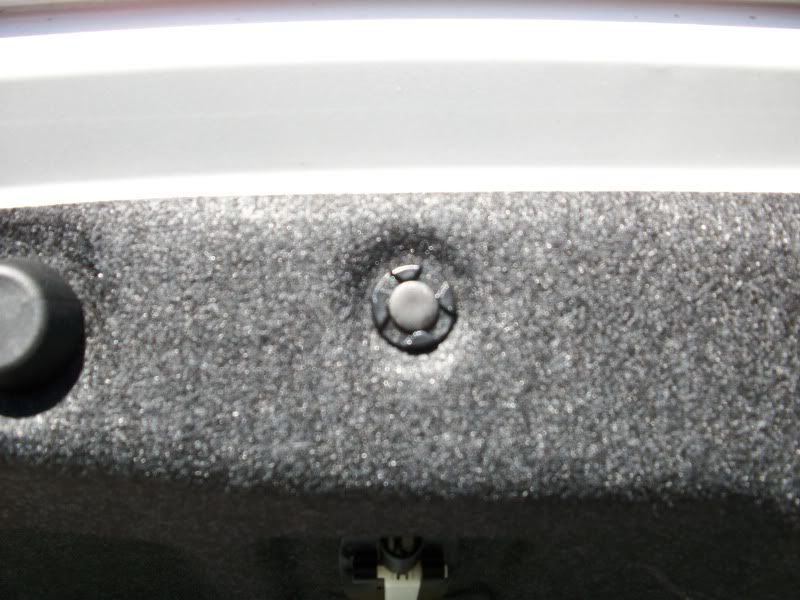
Stick your screwdriver in, raising the center piece away from the grommet/washer section of the plug, like so.
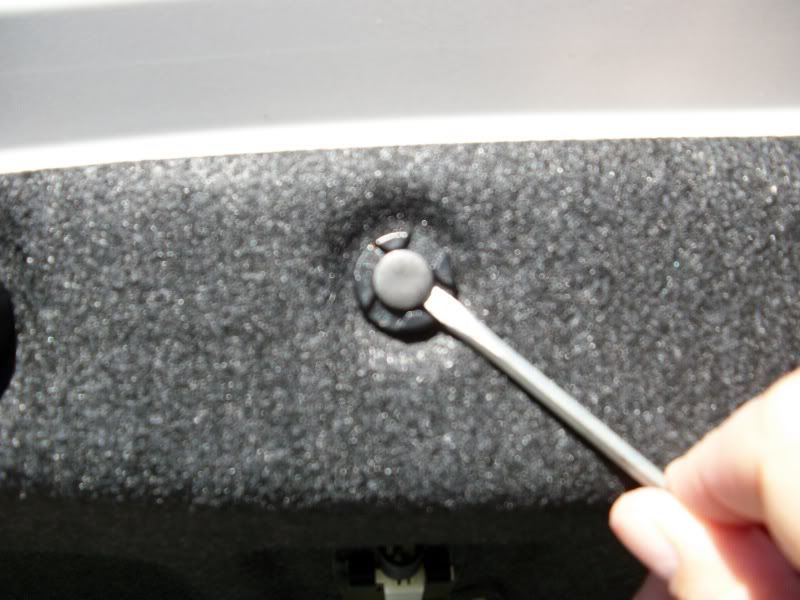
And remove all 12 of them (I think there were 12, lol)…
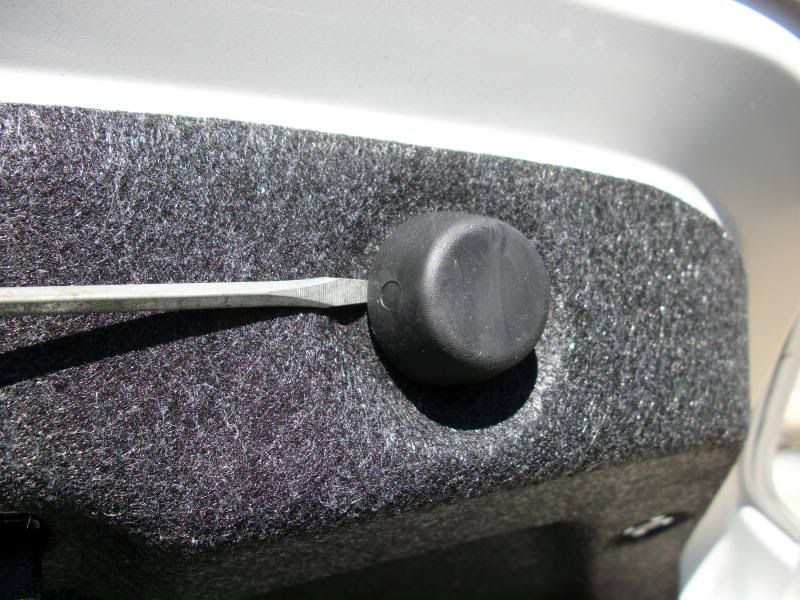
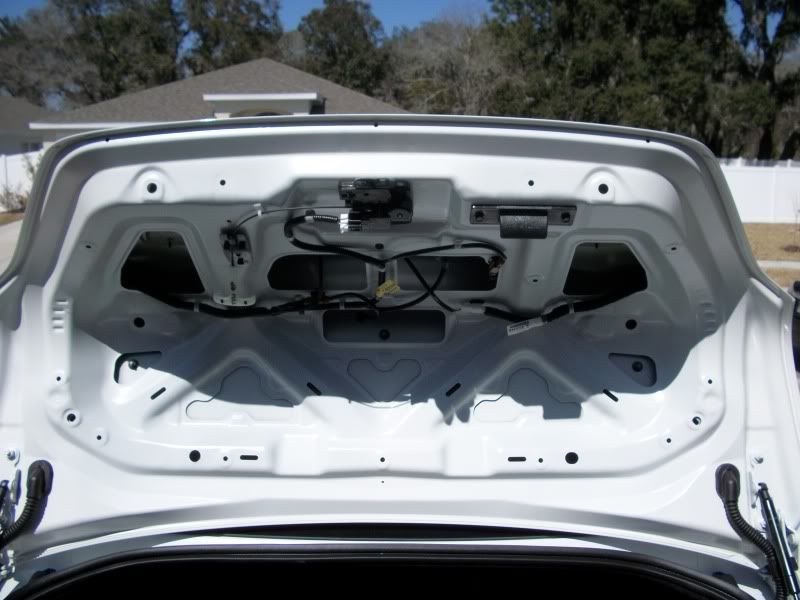
You'll also need to remove the "bumpers" that rest the trunk lid down. Same process as the rest of this deal. Small screwdriver under the small bumper, and voila.
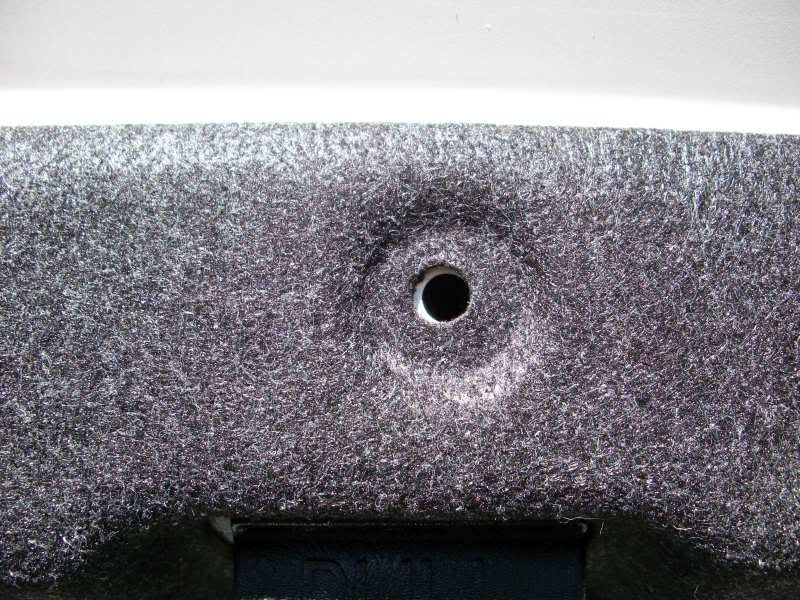
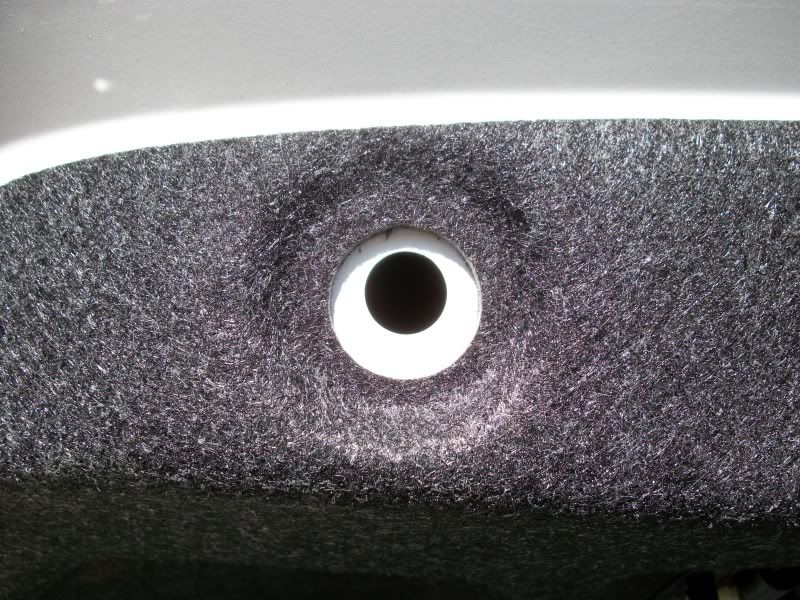
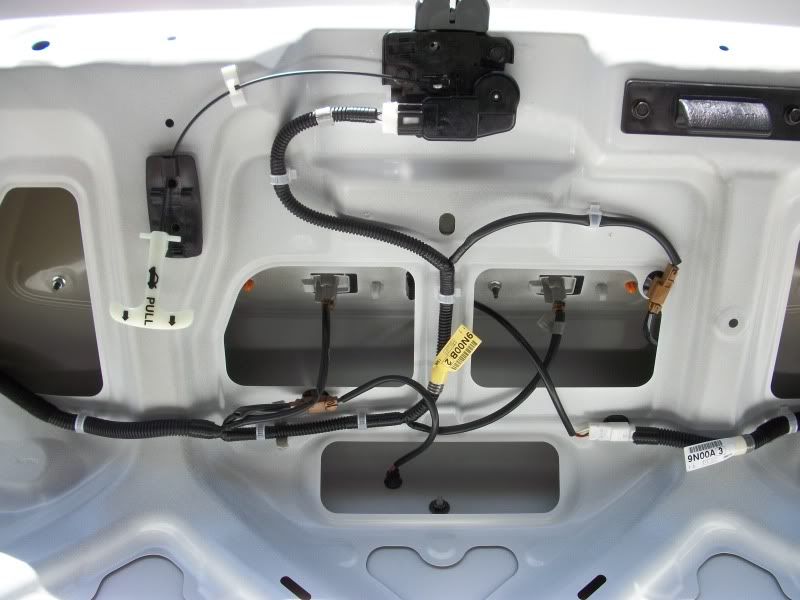
It should be evident for you which holes are for what pieces when you have removed them. Here is the larger hole, for reference.
Stick your screwdriver in, raising the center piece away from the grommet/washer section of the plug, like so.
And remove all 12 of them (I think there were 12, lol)…
You'll also need to remove the "bumpers" that rest the trunk lid down. Same process as the rest of this deal. Small screwdriver under the small bumper, and voila.
It should be evident for you which holes are for what pieces when you have removed them. Here is the larger hole, for reference.
.......... continued on next post ..........
03-08-2010, 06:18 PM
#11
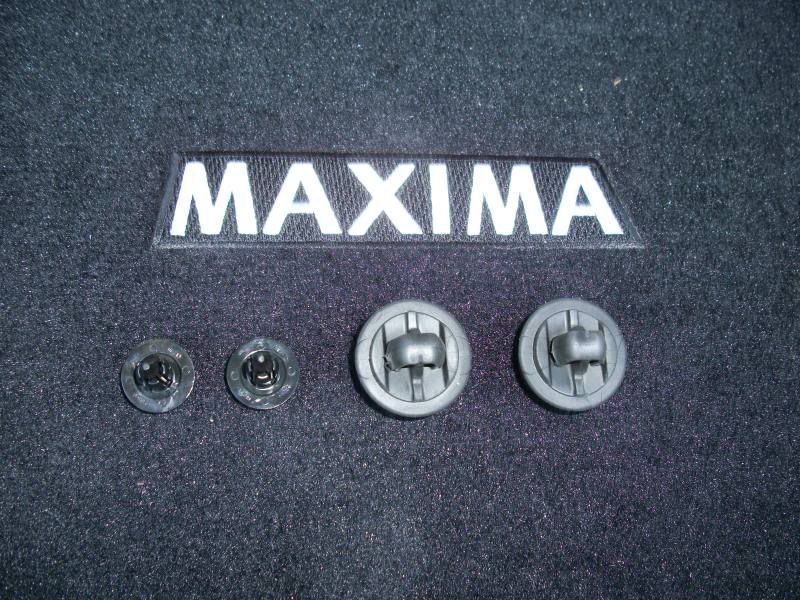
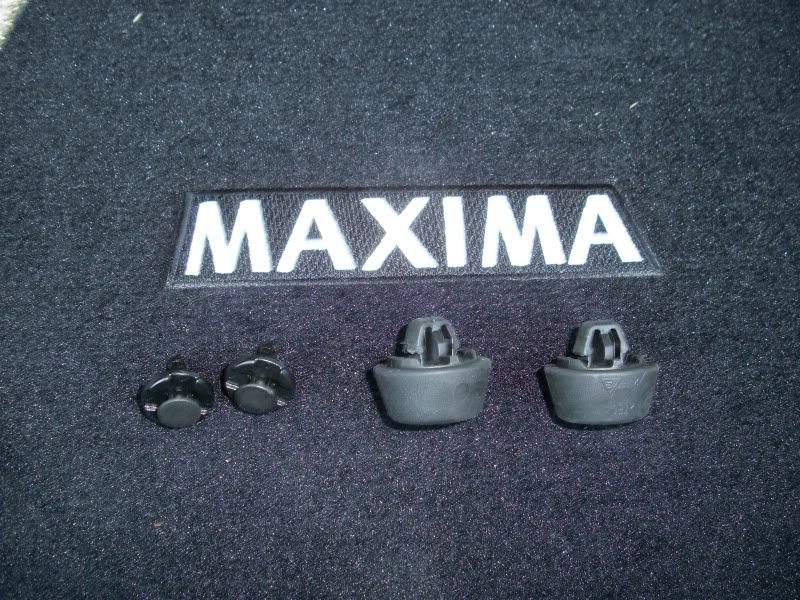
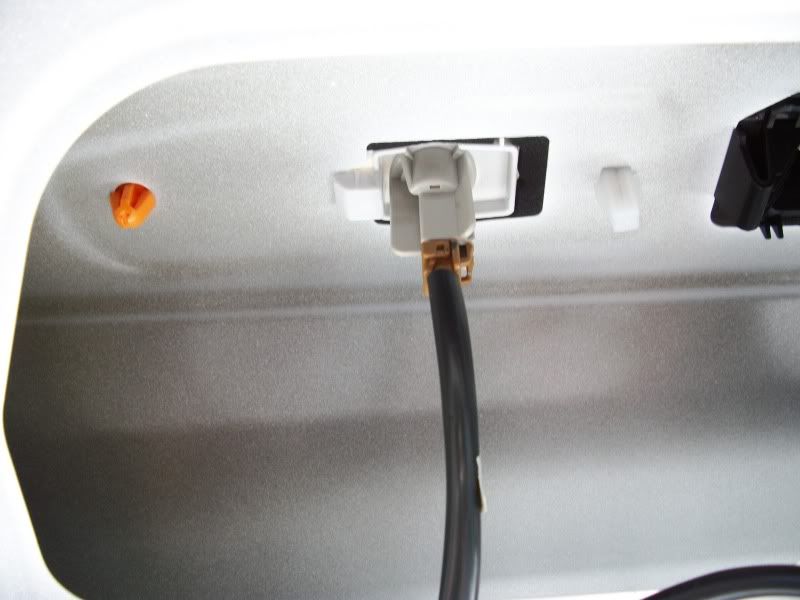
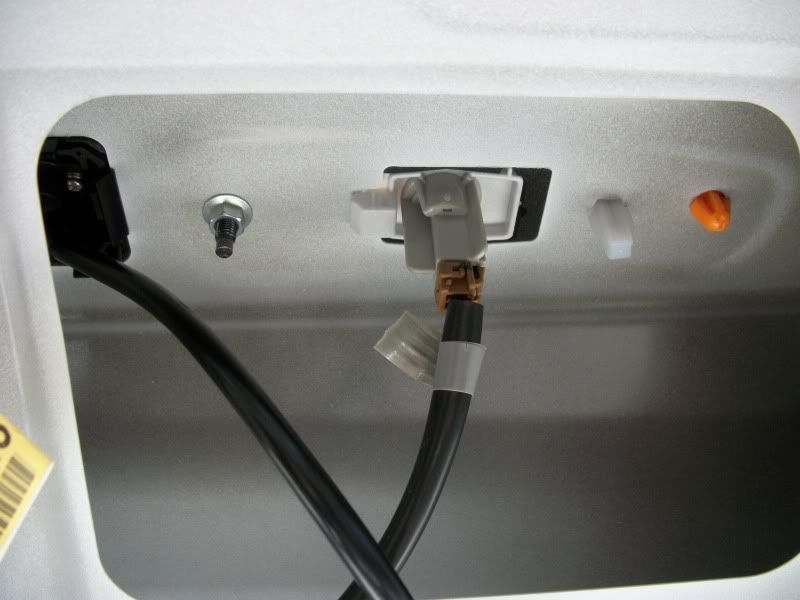
Here's the various plugs, removed, again for reference so you can visualize them and the way they are to be removed prior to ever seeing them removed for yourself!
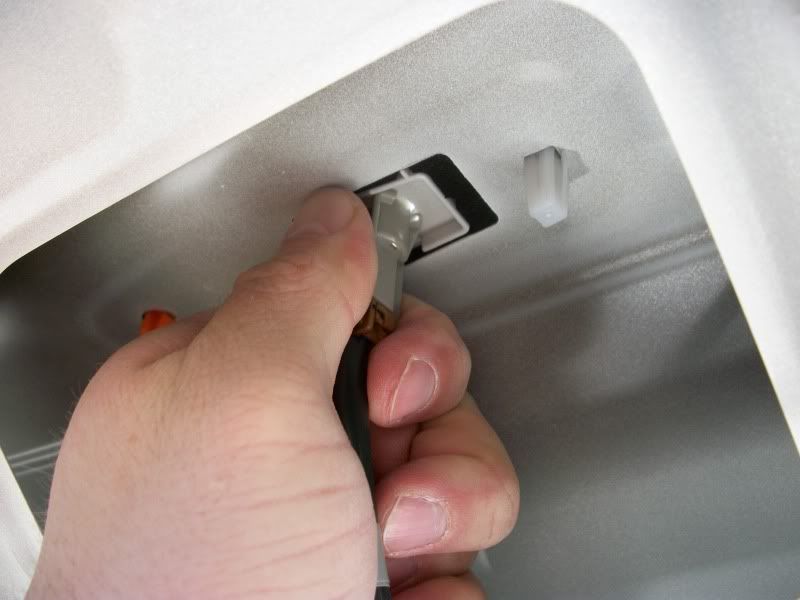
All items removed, you can begin to work on the trunk release lever.
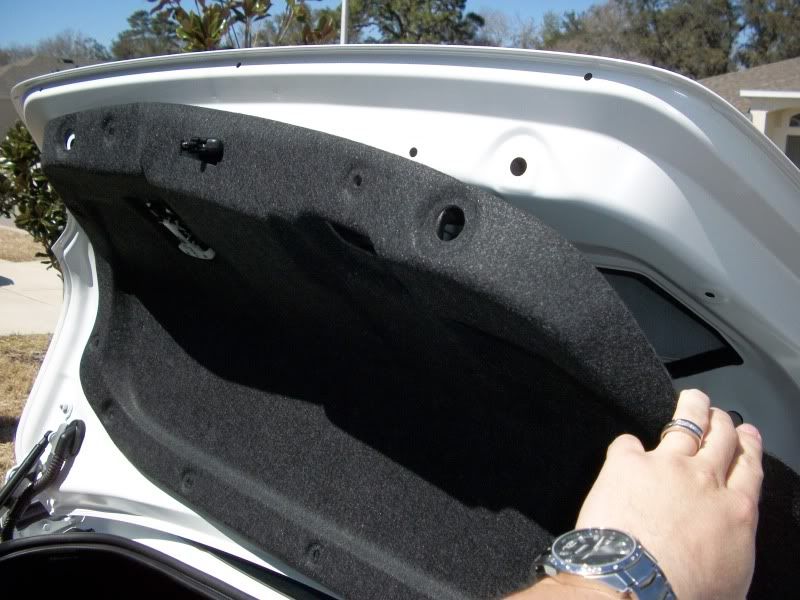
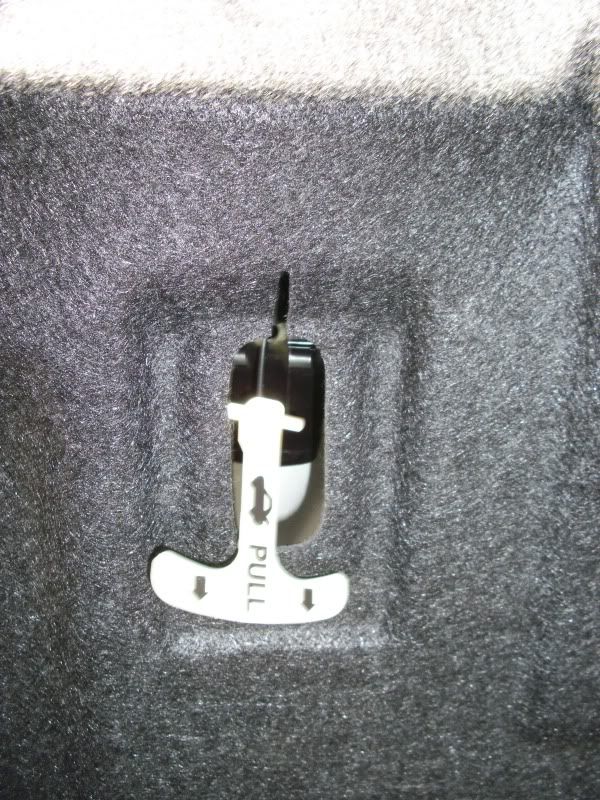
^that little booger is the hardest part of the entire install, LOL. You can utilize the small head screwdriver to carefully guide the trunk liner around from behind the trunk latch lever. Be careful as to not pull the lever out / off from the trunk, as I don't know how to refasten it myself (probably an easy fix, but why bother). Just take your time, and don't get aggrivated with it. Then slide the piece off all together at once.
All items removed, you can begin to work on the trunk release lever.
^that little booger is the hardest part of the entire install, LOL. You can utilize the small head screwdriver to carefully guide the trunk liner around from behind the trunk latch lever. Be careful as to not pull the lever out / off from the trunk, as I don't know how to refasten it myself (probably an easy fix, but why bother). Just take your time, and don't get aggrivated with it. Then slide the piece off all together at once.
.......... continued on next post ..........
 03-08-2010, 06:19 PM
#13
Grab hold of the plastic that is holding the lens in its place, like so.
Then rotate counter-clockwise, like so.
And remove.
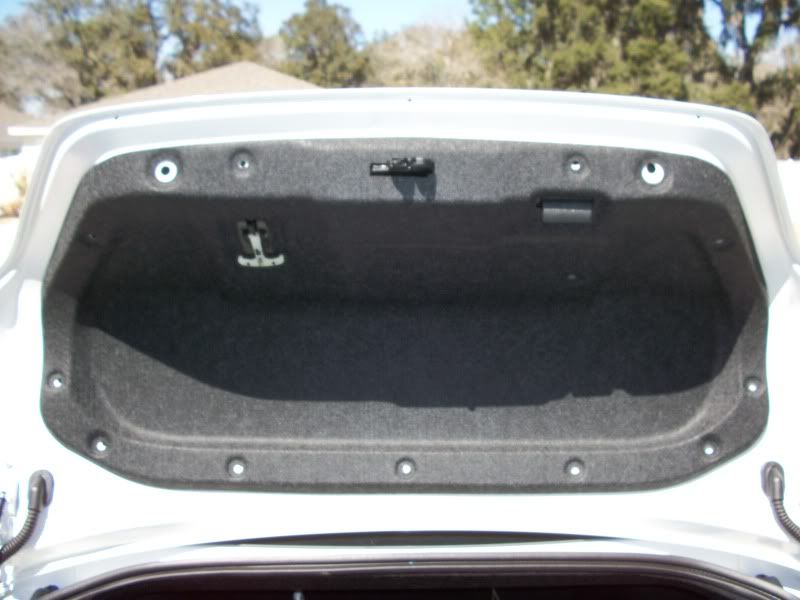
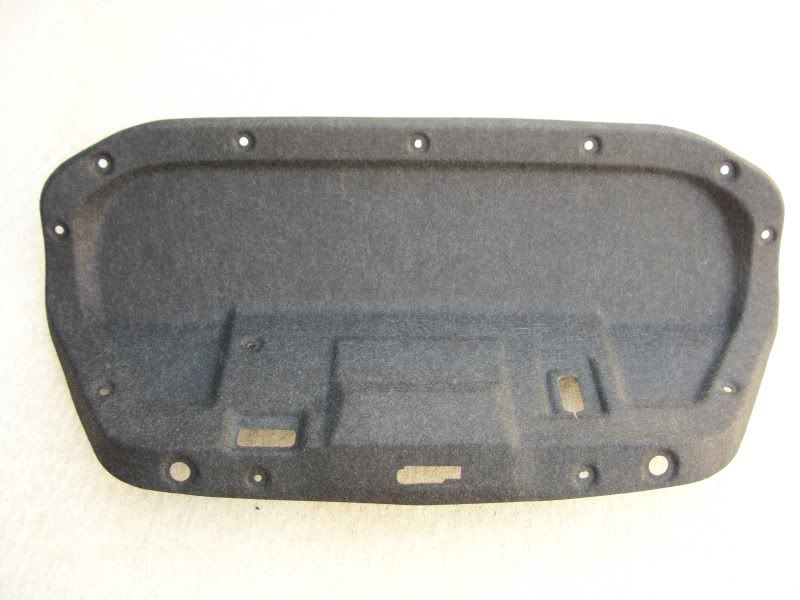
And reinstall the lights, then the trunk liner cover (again being very careful around the trunk release latch), and then all 12 plastic plugs and both trunk bumpers.
Then rotate counter-clockwise, like so.
And remove.
And reinstall the lights, then the trunk liner cover (again being very careful around the trunk release latch), and then all 12 plastic plugs and both trunk bumpers.
.......... continued on next post ..........
03-08-2010, 06:20 PM
#14
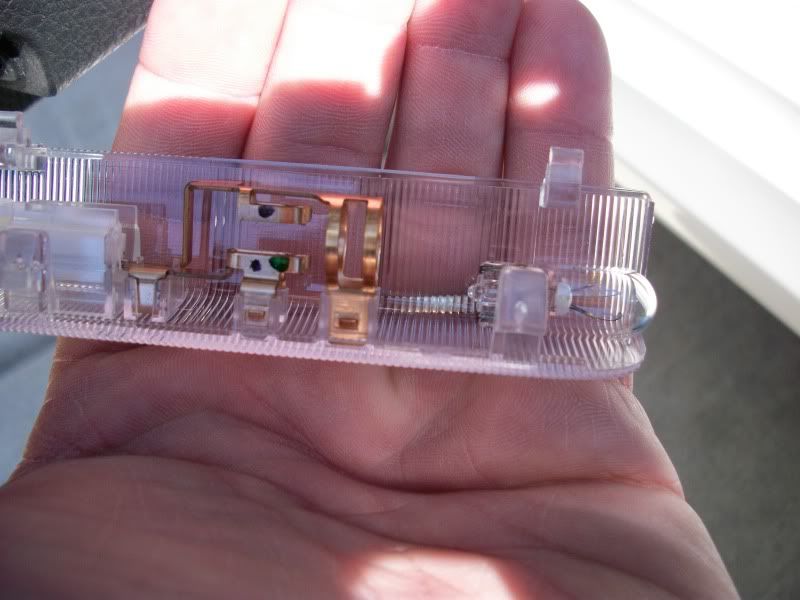
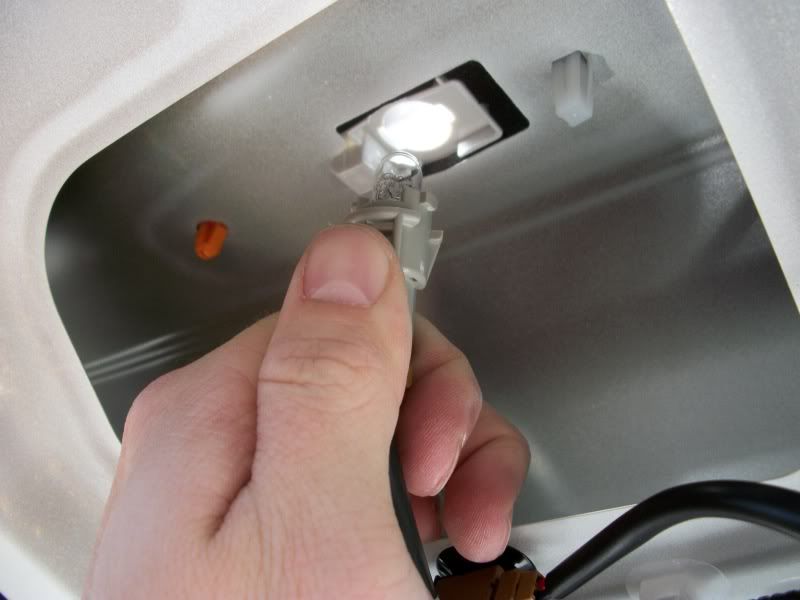
Now that the trunk lid liner is back in place, go to work in the actual trunk light location. In this spot you will find a plastic dome-like lens cover. I just pushed the little button (closest to the back seats) and pulled down and away (towards the trunk opening), and it opened.
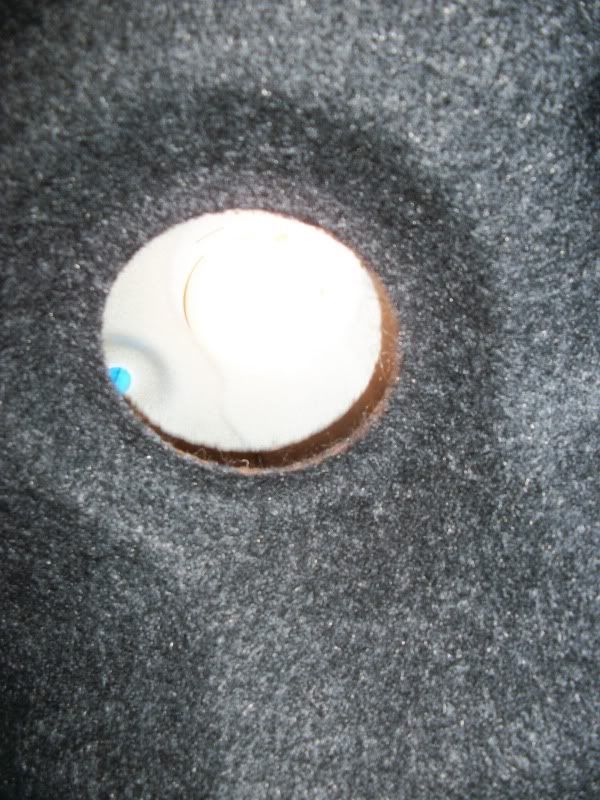
It was tough to get any good photos of this location/bulb.
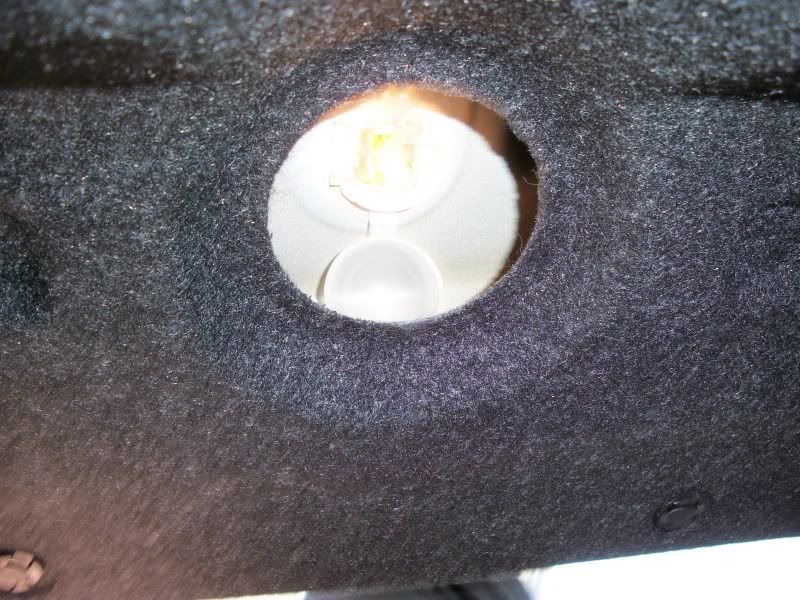
I again used the pliers and towel method to remove the hot bulb.
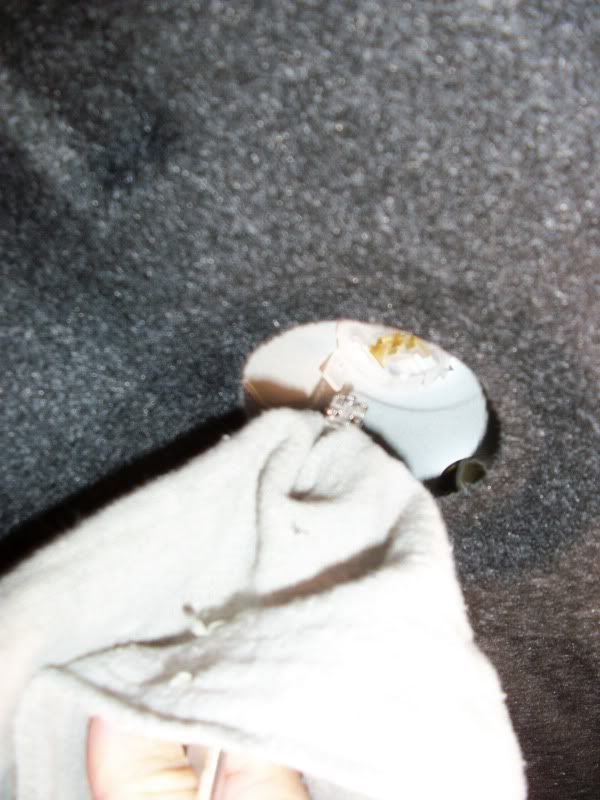
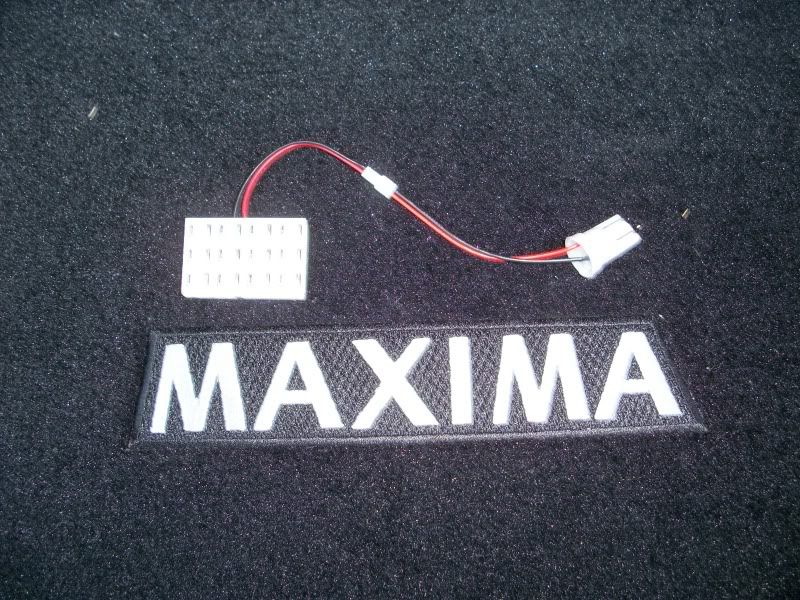
Here is the trunk bulb, a circuit-board style LED.
.......... continued on next post ..........
03-08-2010, 06:20 PM
#15
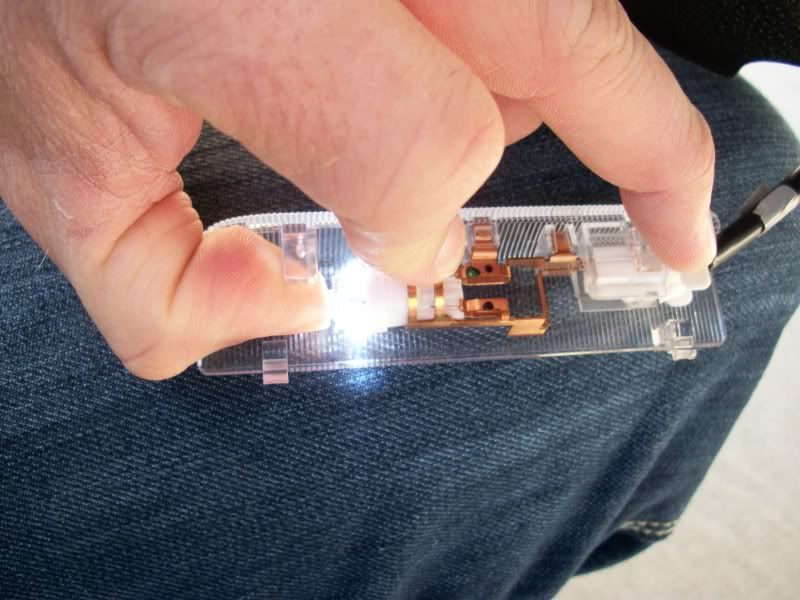
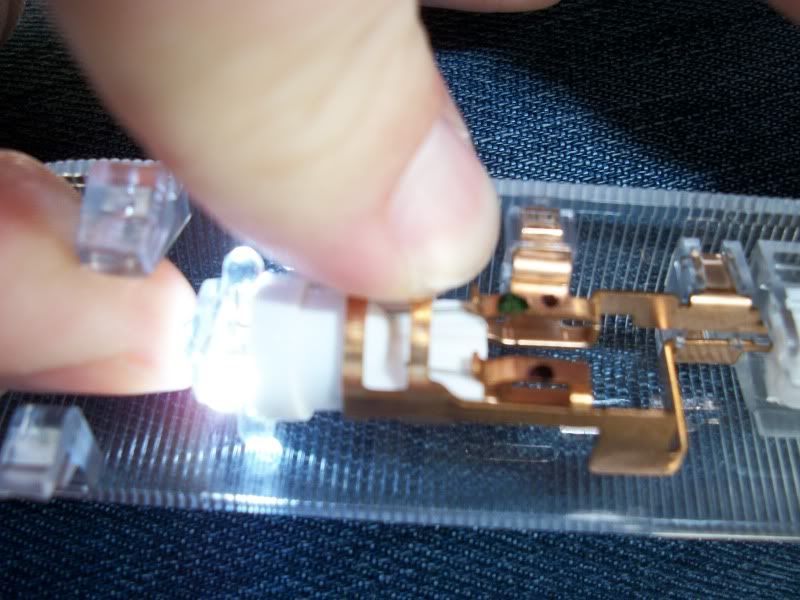
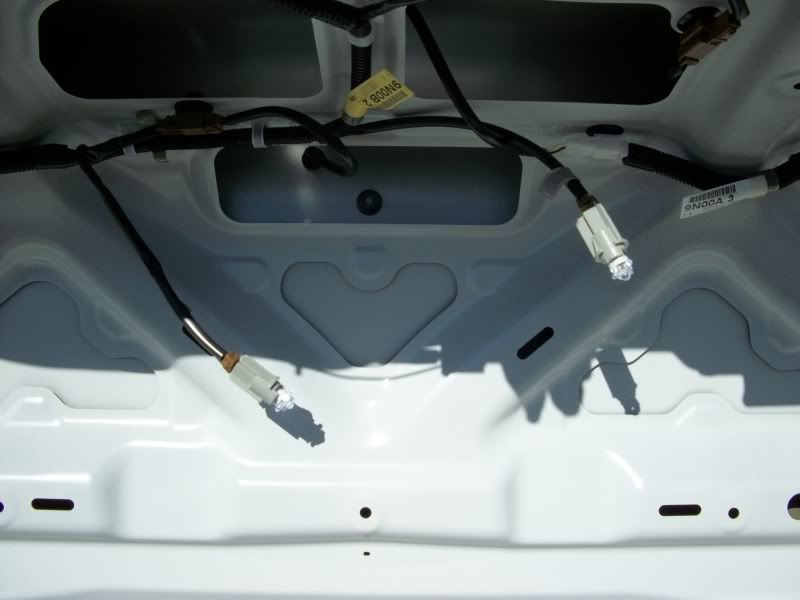
The kit comes with the LED circuit-board in two separate pieces, plug them into one another, and then plug the end into the light fixture, like so.
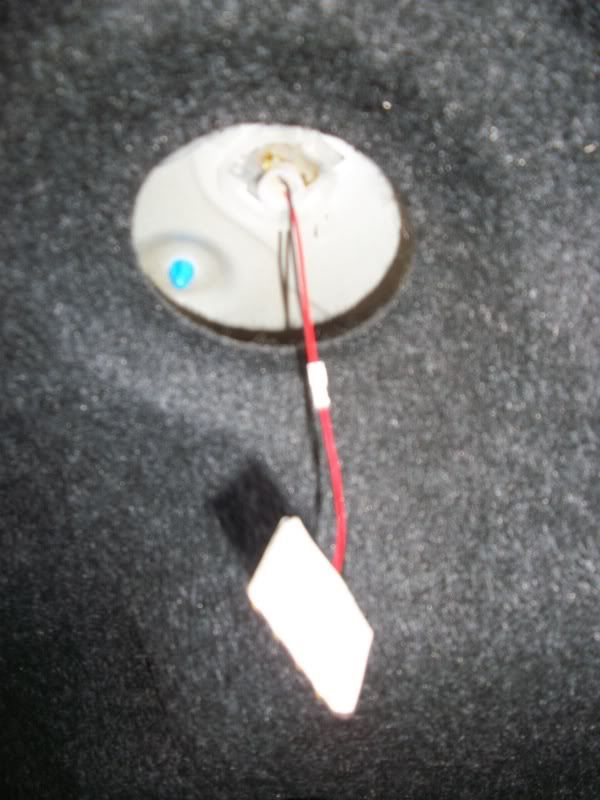
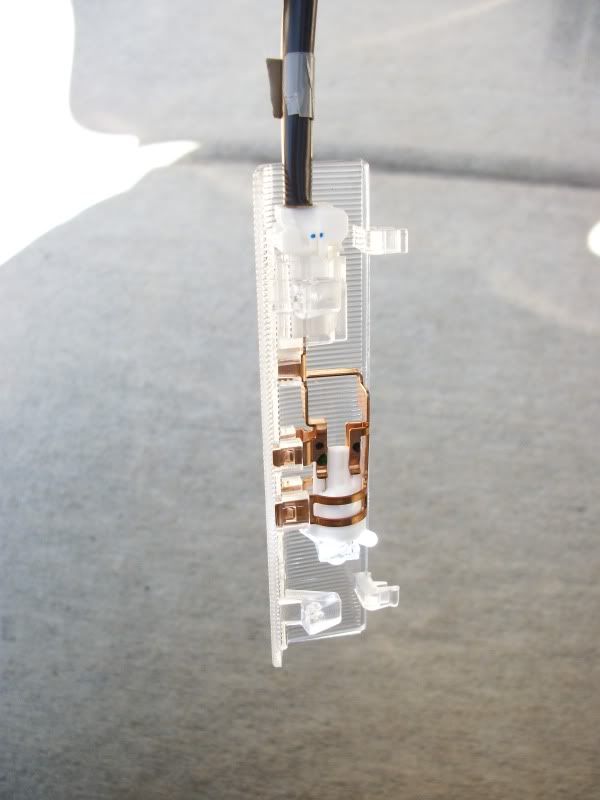
Remove the 3M double-sided adhesive from the back of the circuit-board, and I simply pressed it onto the light fixture housing, and left the dome-style lens open.
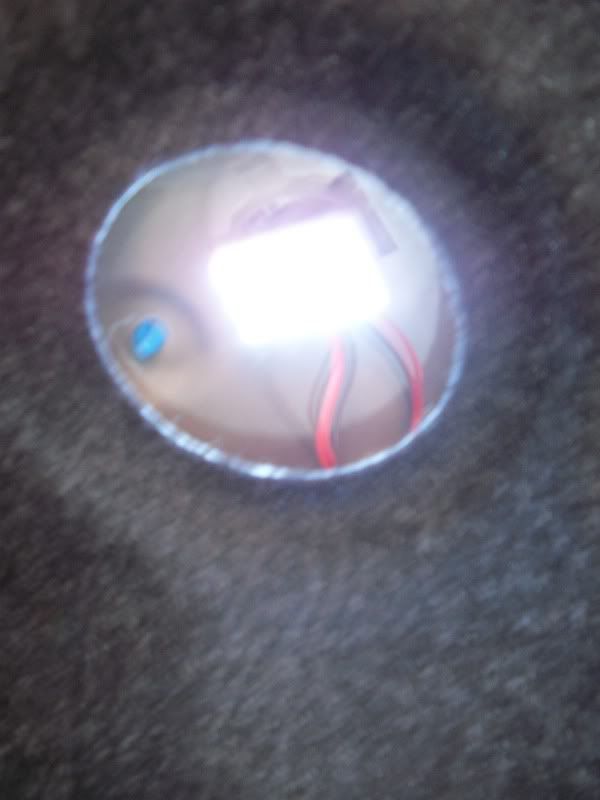
Remove the 3M double-sided adhesive from the back of the circuit-board, and I simply pressed it onto the light fixture housing, and left the dome-style lens open.
.......... continued on next post ..........
 03-08-2010, 06:22 PM
#19
You could probably avoid the towel & pliers method by getting the lights to turn off, but I was in a bit of a hurry, and wasn’t exactly sure how to get them to turn off w/o disconnecting the battery and I didn’t want to mess w/that at this point.
Hopefully you enjoy the write-up, and I thank you for taking the time to read this!
All the best,
-Josh

 03-08-2010, 07:35 PM
#22
MiDiablo, I must say, I used the wrong led for the trunk before and I covered the led with the dome cover. I am just from installing the circuit board led and I must say, THIS IS THE KIND OF LIGHT I WANT IN THE INTERIOR!!! That thing is bright! I can't believe I used just the single led when I put mine earlier on today. Well, I just changed it and did not cover it with the cover. Did it exactly as you did yours. The trunk is really lit-up!
I just wished there was a circuit board I could use in the interior lights. Got any ideas? I want some real white lights in the maplight, dome and doors. The leds in there now, are exactly what you have. Just ok, not very bright as I was hoping. I think I need circuit boards in these applications. Know where one can get those kinds? Anybody?
I just wished there was a circuit board I could use in the interior lights. Got any ideas? I want some real white lights in the maplight, dome and doors. The leds in there now, are exactly what you have. Just ok, not very bright as I was hoping. I think I need circuit boards in these applications. Know where one can get those kinds? Anybody?
03-09-2010, 12:10 PM
#23
Petit,
I do believe that the seller, "ledbulbz" does have those available, seeing as how he had them for the trunk. I'd have to assume (will double check later) that the trunk circuit board size would fit in the overhead map lights in the front of the car as well.
With that being said, I like the measure of light I get from the dome lamps - I didn't want them overly bright, but I really prefer the white look. The door puddle lamps could serve a bit brighter light, IMO. As sometimes you want those to be as bright as possible to see what you're stepping into!
Other than that, I'm pleasantly pleased!


 03-09-2010, 01:53 PM
#27
Newbie - Just Registered

Join Date: Feb 2010
Location: LYNWOOD
Posts: 6
I bought the LED's from him too.. and I installed the circuit board for my map lights he sent me 2 circuit boards and yea they fit perfectly and they are very bright!! BUT they are more expensive so I guess just ask the seller and he will give u the link. They also turn off completely and i havent had any problems so far 3 months +
Does any one know how to remove the tail lights??? i bought reverse leds but i can not remove the tail lights so far i have removed the 2 nuts but 3 plastic "things" are still holding on to the tail light.
Does any one know how to remove the tail lights??? i bought reverse leds but i can not remove the tail lights so far i have removed the 2 nuts but 3 plastic "things" are still holding on to the tail light.
03-09-2010, 05:23 PM
#28
Thanks guys! I'm obviously a n00b to "The Org" - but I've been around the block with this car & forums game. I've most recently been enthralled the past 8 years or so in the Mustang forums; everything from DIY carb swaps, interior change-overs, coilovers, etc. So I figured I'd share my experiences w/the Maxima as I modify it w/you guys here!
Hey XR, I spoke with "ledbulbz" today, and he is going to send me a few different types of bulbs to test out and report back to him. I've also got him shipping me a set for the Wife's '10 Altima, so I can verify that these are cross-referenceable for him and for others here that may also own Altimas. If in the mess of new bulbs he sends me, there are reverse bulbs, I will document & post the reverse bulb install for you guys as well.
Ciao for now!
I bought the LED's from him too.. and I installed the circuit board for my map lights he sent me 2 circuit boards and yea they fit perfectly and they are very bright!! BUT they are more expensive so I guess just ask the seller and he will give u the link. They also turn off completely and i havent had any problems so far 3 months +
Does any one know how to remove the tail lights??? i bought reverse leds but i can not remove the tail lights so far i have removed the 2 nuts but 3 plastic "things" are still holding on to the tail light.
Does any one know how to remove the tail lights??? i bought reverse leds but i can not remove the tail lights so far i have removed the 2 nuts but 3 plastic "things" are still holding on to the tail light.
Ciao for now!
03-09-2010, 08:11 PM
#29
WHAT??? You got to talk to him for real? Did you talk on the phone or email? Well, he needs to get here and read this thread. I want to talk to him, he only sends me a reply to my emails. And he is from SugarLand, Texas, which is 30miles from me. I told him I want to meet him in person and pick up the leds, but he has ignored that question in 2 of my emails. I like my leds from him, just wished it was brighter. And because I see how great the circuit board is, makes me want that to use in as many applications in my car as is applicable.
For anybody interested to buy from him, the leds are very nice, if you want ok lights. But after installing my trunk circuit board, I was like, this is what I need for my map, dome and doors. And that is what I will recommend to people who want some real light output.
For anybody interested to buy from him, the leds are very nice, if you want ok lights. But after installing my trunk circuit board, I was like, this is what I need for my map, dome and doors. And that is what I will recommend to people who want some real light output.
03-09-2010, 08:44 PM
#30
Newbie - Just Registered
Join Date: Feb 2010
Location: LYNWOOD
Posts: 6
Hey I also bought some from KAIZEN MOTOR and he has good prices and gives discounts on big orders. This is his link
http://motors.shop.ebay.com/kaizenmotor/m.html?_nkw=&_armrs=1&_from=&_ipg=
I bought the trunk light and it was bright it wasnt a circuit board but it had about 4 leds and it was the same size as the stock one... I also bought the door LED's they had a single LED they werent as bright but I liked them it only had one but i imagine you can use the trunk one if u want it brighter but I thought it was good for me.. I also bought the reverse lights.. I sent him a private message and told him which lights i wanted and he gave me a good price and a discount for ordering so many LED'S.
The Map light I got it from LEXEN AUTO INC. not from "LEDBULBZ" (i did buy some from ledbulbz for my maxima 2007) LEXEN AUTO's map lights were very bright they were like a circuit board. and his license plate LED's were also bright. here is his link
http://stores.ebay.com/lexenautoinc


 05-23-2010, 01:28 PM
#36
Member

Join Date: May 2009
Location: New York
Posts: 40
I ordered the 180 LED kit from ledbulbz on eBay. $99 and shipping was fairly quick. The kit comes with Maps, domes, doors, license plate, reverse, trunk, visors and below dash feet LEDs. Very easy install and it makes a HUGE difference. Kinda makes you wonder why this car didn't come with stock LEDs.
05-25-2010, 09:24 AM
#37
I don't know about the other guy's experiences with these bulbs. But after close to 3 months now, one of the bulbs is flickering and my rear feestoon bulds are out. But if I tilt them, they come on and go off sometimes. Annoying. The light output is just ok.
The best bulb in this his deal is the 12 led circuit board. If you can request him to send more of that for as many applications as you need, you would be glad. I have it in the trunk and it is very bright. I wanted more, but he would never respond to my emails.
I do not like his customer service. I have contacted him numerous times and he is not willing to give me an answer. I want him to give me a quote on ordering 10 of the 12 led cirucit boards. But he has never responded. So, I ended up ordering 10 of the 12 led circuit boards from hongkong (China) for $30 shipped. Still waiting for them to get here.
05-25-2010, 07:05 PM
#38
Member
Join Date: May 2009
Location: New York
Posts: 40
I don't know about the other guy's experiences with these bulbs. But after close to 3 months now, one of the bulbs is flickering and my rear feestoon bulds are out. But if I tilt them, they come on and go off sometimes. Annoying. The light output is just ok.
The best bulb in this his deal is the 12 led circuit board. If you can request him to send more of that for as many applications as you need, you would be glad. I have it in the trunk and it is very bright. I wanted more, but he would never respond to my emails.
I do not like his customer service. I have contacted him numerous times and he is not willing to give me an answer. I want him to give me a quote on ordering 10 of the 12 led cirucit boards. But he has never responded. So, I ended up ordering 10 of the 12 led circuit boards from hongkong (China) for $30 shipped. Still waiting for them to get here.
The best bulb in this his deal is the 12 led circuit board. If you can request him to send more of that for as many applications as you need, you would be glad. I have it in the trunk and it is very bright. I wanted more, but he would never respond to my emails.
I do not like his customer service. I have contacted him numerous times and he is not willing to give me an answer. I want him to give me a quote on ordering 10 of the 12 led cirucit boards. But he has never responded. So, I ended up ordering 10 of the 12 led circuit boards from hongkong (China) for $30 shipped. Still waiting for them to get here.
The connector strips have to be lined up very precisely or you will get a flickering. it's just a bad connection that you can fix.
I can't quite seem to figure out how to mount the circuit board in the trunk. Where do you attach the 3M tape to? the bulb connector piece sticks out too far to mount it to the plastic housing. Any help or closeup pics is appreciated.
05-25-2010, 08:05 PM
#39
Forget the plastic housing. I mounted mine on the outside. When the circuit board is connected, it has enough allowance to mount the 3m adhesive tape on the roof of the trunk. Right there at the opening to get to the plastic housing. I put mine right there. Right out of the opening. Not in the opening. I can get you pic, but maybe sometime before the week runs out.
I will double check my connections. But I am anxiously waiting for my 10 of the 12 led circuit boards from Hong kong. I will use them everywhere they can fit! And I hope they last. Well, they get here on or before June 20th. I am patiently waiting...
Remember, if you want the best output, get the 12 led circuit board from this guy. For some reason, he chooses not to give me a quote. Actually because he knows he did me wrong. He did not respect my exchange request as per his warranty conditions. But oh well, I am past that. I already ordered me some more leds from out of the country.
05-25-2010, 10:20 PM
#40
Member
Join Date: May 2009
Location: New York
Posts: 40
Forget the plastic housing. I mounted mine on the outside. When the circuit board is connected, it has enough allowance to mount the 3m adhesive tape on the roof of the trunk. Right there at the opening to get to the plastic housing. I put mine right there. Right out of the opening. Not in the opening. I can get you pic, but maybe sometime before the week runs out.
I will double check my connections. But I am anxiously waiting for my 10 of the 12 led circuit boards from Hong kong. I will use them everywhere they can fit! And I hope they last. Well, they get here on or before June 20th. I am patiently waiting...
Remember, if you want the best output, get the 12 led circuit board from this guy. For some reason, he chooses not to give me a quote. Actually because he knows he did me wrong. He did not respect my exchange request as per his warranty conditions. But oh well, I am past that. I already ordered me some more leds from out of the country.
I will double check my connections. But I am anxiously waiting for my 10 of the 12 led circuit boards from Hong kong. I will use them everywhere they can fit! And I hope they last. Well, they get here on or before June 20th. I am patiently waiting...
Remember, if you want the best output, get the 12 led circuit board from this guy. For some reason, he chooses not to give me a quote. Actually because he knows he did me wrong. He did not respect my exchange request as per his warranty conditions. But oh well, I am past that. I already ordered me some more leds from out of the country.
I'd like to see a picture of your trunk circuit board setup. Thanks.