Write-Up: Upper Oil Pan Removal


 07-17-2014, 08:35 AM
#82
Member

Join Date: Mar 2008
Location: Mesa, AZ
Posts: 220
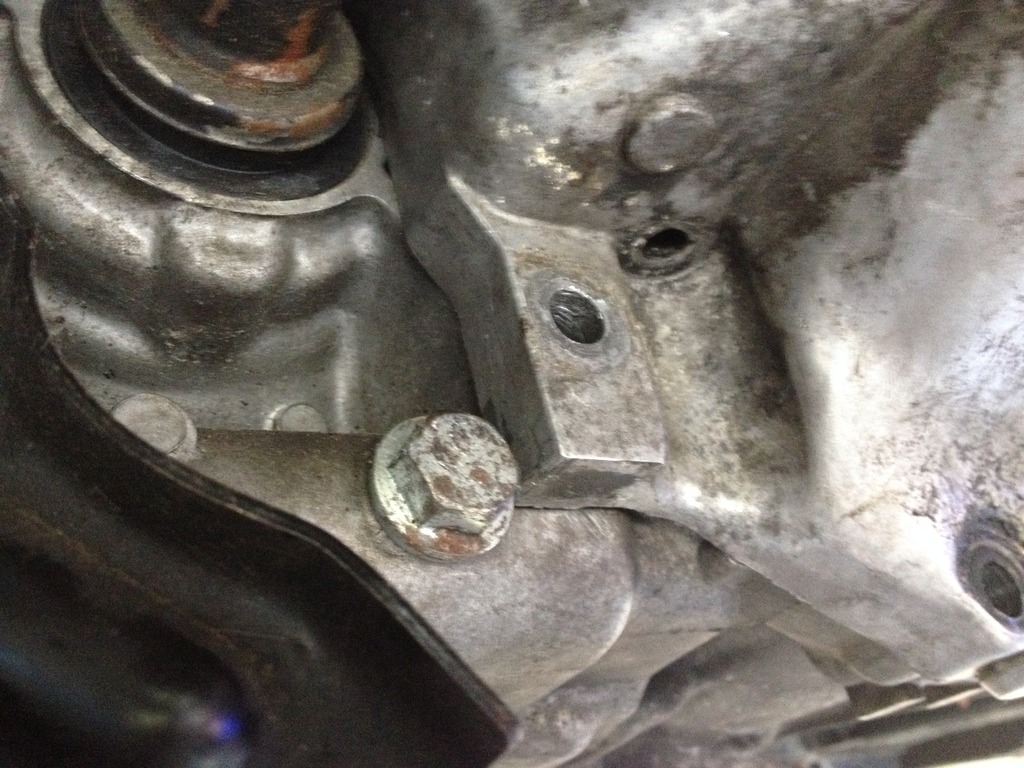
Be careful using a screwdriver to pry it. I chipped away part of the oil pan doing that but luckily it wasn't big enough to cause it to leak. What I found worked well was to get a large rubber mallet and hit it hard several times and then it will start separating and once it is separating then you can use the large flathead screwdriver method to gently pry around it now that you can get the screwdriver in further
07-27-2014, 07:00 PM
#84
Junior Member

Join Date: Aug 2004
Posts: 81
Just a quick status, it has been REALLY hot here in Sacramento, but I am now to the point where I'm about to install the upper pan.
But before I do, I really think I'm at the point where I need to change that transmission mount. The other three mounts were dead; I figure that transmission mount must be as well. If that's true, I think I'm at the point where you don't do much more reassembly before changing that mount. Once the front mount is back on (in as little as 20 minutes from now), it makes sense to change the transmission mount.
But, I don't have a mount on-hand, which is why I'd need to stop for a while.
07-28-2014, 02:38 AM
#85
Senior Member

Join Date: Jan 2011
Location: Central AR
Posts: 3,041
Just a quick status, it has been REALLY hot here in Sacramento, but I am now to the point where I'm about to install the upper pan.
But before I do, I really think I'm at the point where I need to change that transmission mount. The other three mounts were dead; I figure that transmission mount must be as well. If that's true, I think I'm at the point where you don't do much more reassembly before changing that mount. Once the front mount is back on (in as little as 20 minutes from now), it makes sense to change the transmission mount.
But, I don't have a mount on-hand, which is why I'd need to stop for a while.
But before I do, I really think I'm at the point where I need to change that transmission mount. The other three mounts were dead; I figure that transmission mount must be as well. If that's true, I think I'm at the point where you don't do much more reassembly before changing that mount. Once the front mount is back on (in as little as 20 minutes from now), it makes sense to change the transmission mount.
But, I don't have a mount on-hand, which is why I'd need to stop for a while.
08-06-2014, 10:47 PM
#86
Junior Member
Join Date: Aug 2004
Posts: 81
I want to add something to the knowledge-base:
When you go to re-assemble the car, after the pan is re-installed, don't put the center-brace on just yet. I found that the A/C compressor, alternator, PS pump, and other parts are easier to install if the center brace and exhaust are not yet installed. Far easier, in fact.
I was creeped out by the idea of spending a lot of time under the "unsupported" engine, too, but if your right and left mounts are in good shape AND you have the transmission supported (that's just a safety), with the extra room, those last parts go in fast.
Now, on my car, I've noticed for a long time what sounds like an exhaust leak just ahead of the firewall. It turns out that when I attach the Y-pipe to the manifold, it's not tightening down all the way -- it should go about 3mm farther. Does anyone have advice on how to fix that? I think now that I've replaced the right and left mounts, maybe that will help... But I just don't know. This could be related to how the Y-pipe mounts to the bottom of the pan.
08-10-2014, 07:28 PM
#87
Senior Member
Thread Starter
iTrader: (2)

Join Date: Feb 2009
Location: Oklahoma City, OKlahoma
Posts: 458
Honestly, I've never been concerned about torque specs, I usually go by the "feel" of the bolt. But if you are interested in the factory torque specs. just go to CLICK HERE for a FREE FULL FSM from NICO CLUB for your vehicle year. Im pretty sure the EM (engine mechanical) section should have the answers you are searching for!
I apologize for my absence in these past months, life changing events (moving, marriage, baby) and not driving a nissan have just diverted my attention! I am happy to say I am "back in black" driving an '01 Infiniti I30. I will be returning to the .org on a regular basis, so if anyone has any questions about the write-up, or any 4th gen mechanical details, feel free to ask!
And, I've never had problems working on, under, around, or above any of my vehicles on jackstands, with a floor jack too. Be it a conversion van, truck, maxima, or geo metro. Just give her a good shake before "going down under", if she feels solid, she is!
Last edited by SrgScott; 08-10-2014 at 07:30 PM.
03-01-2015, 05:44 PM
#88
Junior Member

Join Date: Oct 2014
Location: Spartanburg S.C
Posts: 93
When you talk about those 2 grommets and decided that they where in good shape and re-used them I was perplexed. You went to all that trouble to get the pan off but went cheap and didn't replace them. I thought that was crazy. It's like replacing a clutch,since you went through all that work you should replace the throwout bearing also. Same thing here with the pan. Replace all rubber parts as it might save you a headache down the road. Great write up otherwise.
06-02-2015, 11:46 AM
#89

Ok..either everyone in here that has done this has an automatic or I'm just missing something, but went to remove my upper pan yesterday and I can't get it past the transmission drain plug.
Planning on draining it today and saving it because it's precious Amsoil.
Guess I wouldn't be as upset if it was cheap stuff.
Anyone else have this issue?
Edit: Well I removed the drain bolt and it all went smoothly.
Think others might want to know this as well since it adds a step for manual trans.
Last edited by Fakie J Farkerton; 06-02-2015 at 04:10 PM.
01-17-2017, 07:53 AM
#90
Newbie - Just Registered

Join Date: Jan 2017
Posts: 1
Great thread!!!
My sons 99 Max developed a severe leak a couple of months ago. Following advice we found on this forum we changed the oil pressure switch and that stopped half the problem. When driving to college or back home he would still loose about 1/2 to 3/4 quart of oil or more, but none when parked. Maybe a quarter sized spot on the ground right after parking.
Over Christmas break we took the car to our trusted mechanic and he diagnosed a rear main seal leak: $30 for part and $1200 for labor!!! I brought the car home and used the google and decided I would try fixing the half moons gaskets first myself.
Using this write up we gathered the tools and parts and went at it. Took about 10 hours (a lot of head scratching!) but we did it. Worked perfect! the next day I took it for about an hour drive and saw zero oil lose and no drips. He drove back to school with no problems.
The only issue we had was we stripped the very last bolt we installed on the 2 bolt exhaust flange just passed the rear most O2 sensor! Pretty easy fix. The most expensive thing I bought was a special O2 wrench to be able to reinstall the O2 sensors.
The culprit was the larger half moon gasket next to the flywheel. It was hard as a rock and crumbly. The front gasket was soft and flexible like the replacements we bought.
01-17-2017, 09:33 AM
#91

Rear main seal
Inkslinger:
You replaced a gasket part for the upper oil pan. There is also a rear main seal (RMS) that is a different part. Your "trusted mechanic" may have been trying to give you a worst case scenario with the $1,200 quote since the half moon gasket is also a common part to fail and would have been replaced during the process of replacing the RMS. So you may want to quiz him on this (how he would have handled it). I would want to know how he would have reacted when he found only the bad half-moon gasket since it sounds like he didn't mention that as a possibility. Would he have stopped there or gone ahead and replaced the rear main seal anyway which is a lot more involved and would have cost quite a bit more $ ? His answer, demeanor and body language may help you determine how "trusted" he really is.
You replaced a gasket part for the upper oil pan. There is also a rear main seal (RMS) that is a different part. Your "trusted mechanic" may have been trying to give you a worst case scenario with the $1,200 quote since the half moon gasket is also a common part to fail and would have been replaced during the process of replacing the RMS. So you may want to quiz him on this (how he would have handled it). I would want to know how he would have reacted when he found only the bad half-moon gasket since it sounds like he didn't mention that as a possibility. Would he have stopped there or gone ahead and replaced the rear main seal anyway which is a lot more involved and would have cost quite a bit more $ ? His answer, demeanor and body language may help you determine how "trusted" he really is.
01-18-2017, 10:28 AM
#92
Member

Join Date: Jun 2014
Location: Anaheim, CA
Posts: 138
I have to ask, since I've seen no mention of this.
The Permatex Grey instructions say: "Assemble parts immediately while silicone is still wet. Finger tighten until material begins to squeeze out around flange. Allow to dry for one hour then retighten 1/4 to 1/2 turn."
I've seen no mention of this procedure on this forum when sealing oil pans, timing covers, valve covers. Do you just tighten it straight to torque spec?
When I did the valve cover on Honda I used to own, even just applying RTV to the corner of the gasket, I still waited (forum research pointed this way) before the final torque.
05-01-2018, 09:40 AM
#93

I'm still in the process of finishing up this job. One, it takes twice as long as you think, and two, I'll be very satisfied if it all works. The write up is great...not a lot of things you'd miss if you read things carefully, take your time, and have a helper...mostly to help you keep tools organized as you fumble around on your back, then get up to do something on top, then back down underneath. Unfortunately the people at Photobucket cut off the free access to the pictures, but fortunately some enterprising people developed a workaround for Google Chrome so more time delays switching from Mac (no workaround for Safari) to the dark side of the PC world to follow the pictures). Thanks Photobucket for disabling other people's work and holding images hostage.
OK, mine was a 1998 Infiniti I-30. Basically a Maxima with a nicer seat. Things I'd do differently....
1. Buy a can of Gunk or any engine degreaser. 20 years of road grime makes for a very dirty job with stuff falling in your eyes. As a retired optometrist, I always wear safety glasses with side shield so I don't have to go see my son, the optometrist, to remove a foreign body. It's a nice saving for Medicare and you taxpayers of $300 bucks plus the embarrassment. Degrease the snot out of the underbody and use a good brush to loosen the chunks that will inevitably fall off. When rinsing, note the location of the alternator and avoid shooting a garden hose of water inside this electric dynamo. Or else plan on replacing it at the same time.
2. Get your oxygen sensor tool out and remove both sensors from underneath. It'll give you a lot more clearance when dropping the "Y" pipe to reinstall the upper oil pan. It was much, MUCH easier to do this. Fortunately, my sensors were easy to get out once the "Y" pipe bolts were removed and the pipes were hanging down. I didn't really know what a "Y" pipe was when I started this job, but when you have two exhaust manifolds on a V-6, you understand why it's called a "Y" pipe. Then it makes sense.
3. Make sure you have 2-17mm sockets of the 1/2" or even 3/4 inch (I don't have a 3/4" drive) variety, and I recommend they are of the 6 (not 12) point variety. Removing the black cross member was a difficult job for me, simply because the rearmost motor mount bolts are a tougher access than the front and Fuji really reefed them on that day. I admire his strength, but removal when you're on your back with a 1/2" breaker bar with a cheater and doing it by yourself resulted in rounding off the bolt (not the nut). Fortunately, son with the muscles suggested removing the top single bolt, with dropped the whole motor mount along with the cross member. Unfortunately there is the little hooter inside the motor mounts that is a sensor to control the vibration, and I had to cut the small wires (4 each) harness and do a resolder job. Again, the sensor's wires ultimately went inside a wire loom and I was able to get access from the top of the car (after removing the air box thing). Again, a second person would be helpful when you're trying to trace the path of the sensor (of which removal of the sensor from the motor mount results in nothing gained). Once out of the car, removal of the nut, once the rounded bolt was clamped in a vise, was easy. it was just a setback, and an $8.53 purchase for new FLANGE bolts. You learn a lot about hardware when educated on the difference between types of bolts AND nuts.
4. The Air-conditioning compressor (AC Compressor). I used a bungee cord looped around the pulley and secured from the top. Beats the jack stand to rest it on from underneath for two reasons. First, the jack stand is always getting in the way, and second, a bungee cords allows you to move the unit around a bit when getting your narrow 3/8" drive 14 mm socket into a tight space to removed 2 of the 4 bolts that aren't lending themselves to an easy removal OR installation. And that thing was filty, so be prepared with a can of gunk to clean it once removed.
5. I used a Fel-Pro CS 9508 "Conversion set" which gives you a ton of gaskets that are mysteries to me for doing this job. You'd have thought just a sheet, just ONE DAMNED SHEET of instruction would be helpful. I would have preferred a little bit of help on gaskets from the manufacturers point of view than the two tubes of RTV (Black) sealant. Those I can buy. Knowledge in this case was more important. I got lucky in that installing the two different sized half moon seal (obvious which one went where) was correctly prepped by me because I do cars as a hobby...but for the noobie, it's something that I wish Fel-Pro would have helped their customers out with instead of a bunch of "O" rings and gaskets with sealant one one side (oil strainer/pipe) and you're left wondering which side is up. Just my little rant.
I'm still working on this job. More if necessary. Thanks for listening.

Thread
Thread Starter
Forum
Replies
Last Post
kjlouis
4th Generation Maxima (1995-1999)
12
10-03-2015 05:29 AM
JoshG
4th Generation Maxima (1995-1999)
51
09-21-2015 10:41 PM
sdotcarter
6th Generation Maxima (2004-2008)
2
09-02-2015 09:53 PM